Time for a Brake

Over the course of the winter storage of Cornelius, I noted that a wet spot had started to appear on the back side of the driver’s side backing plate. Once it got warm enough, I pulled the tire and the drum to have a look. Sure enough, the wheel cylinder had developed a leak and was dripping brake fluid into the bearings and thinning the grease as well. Time for some brake work.
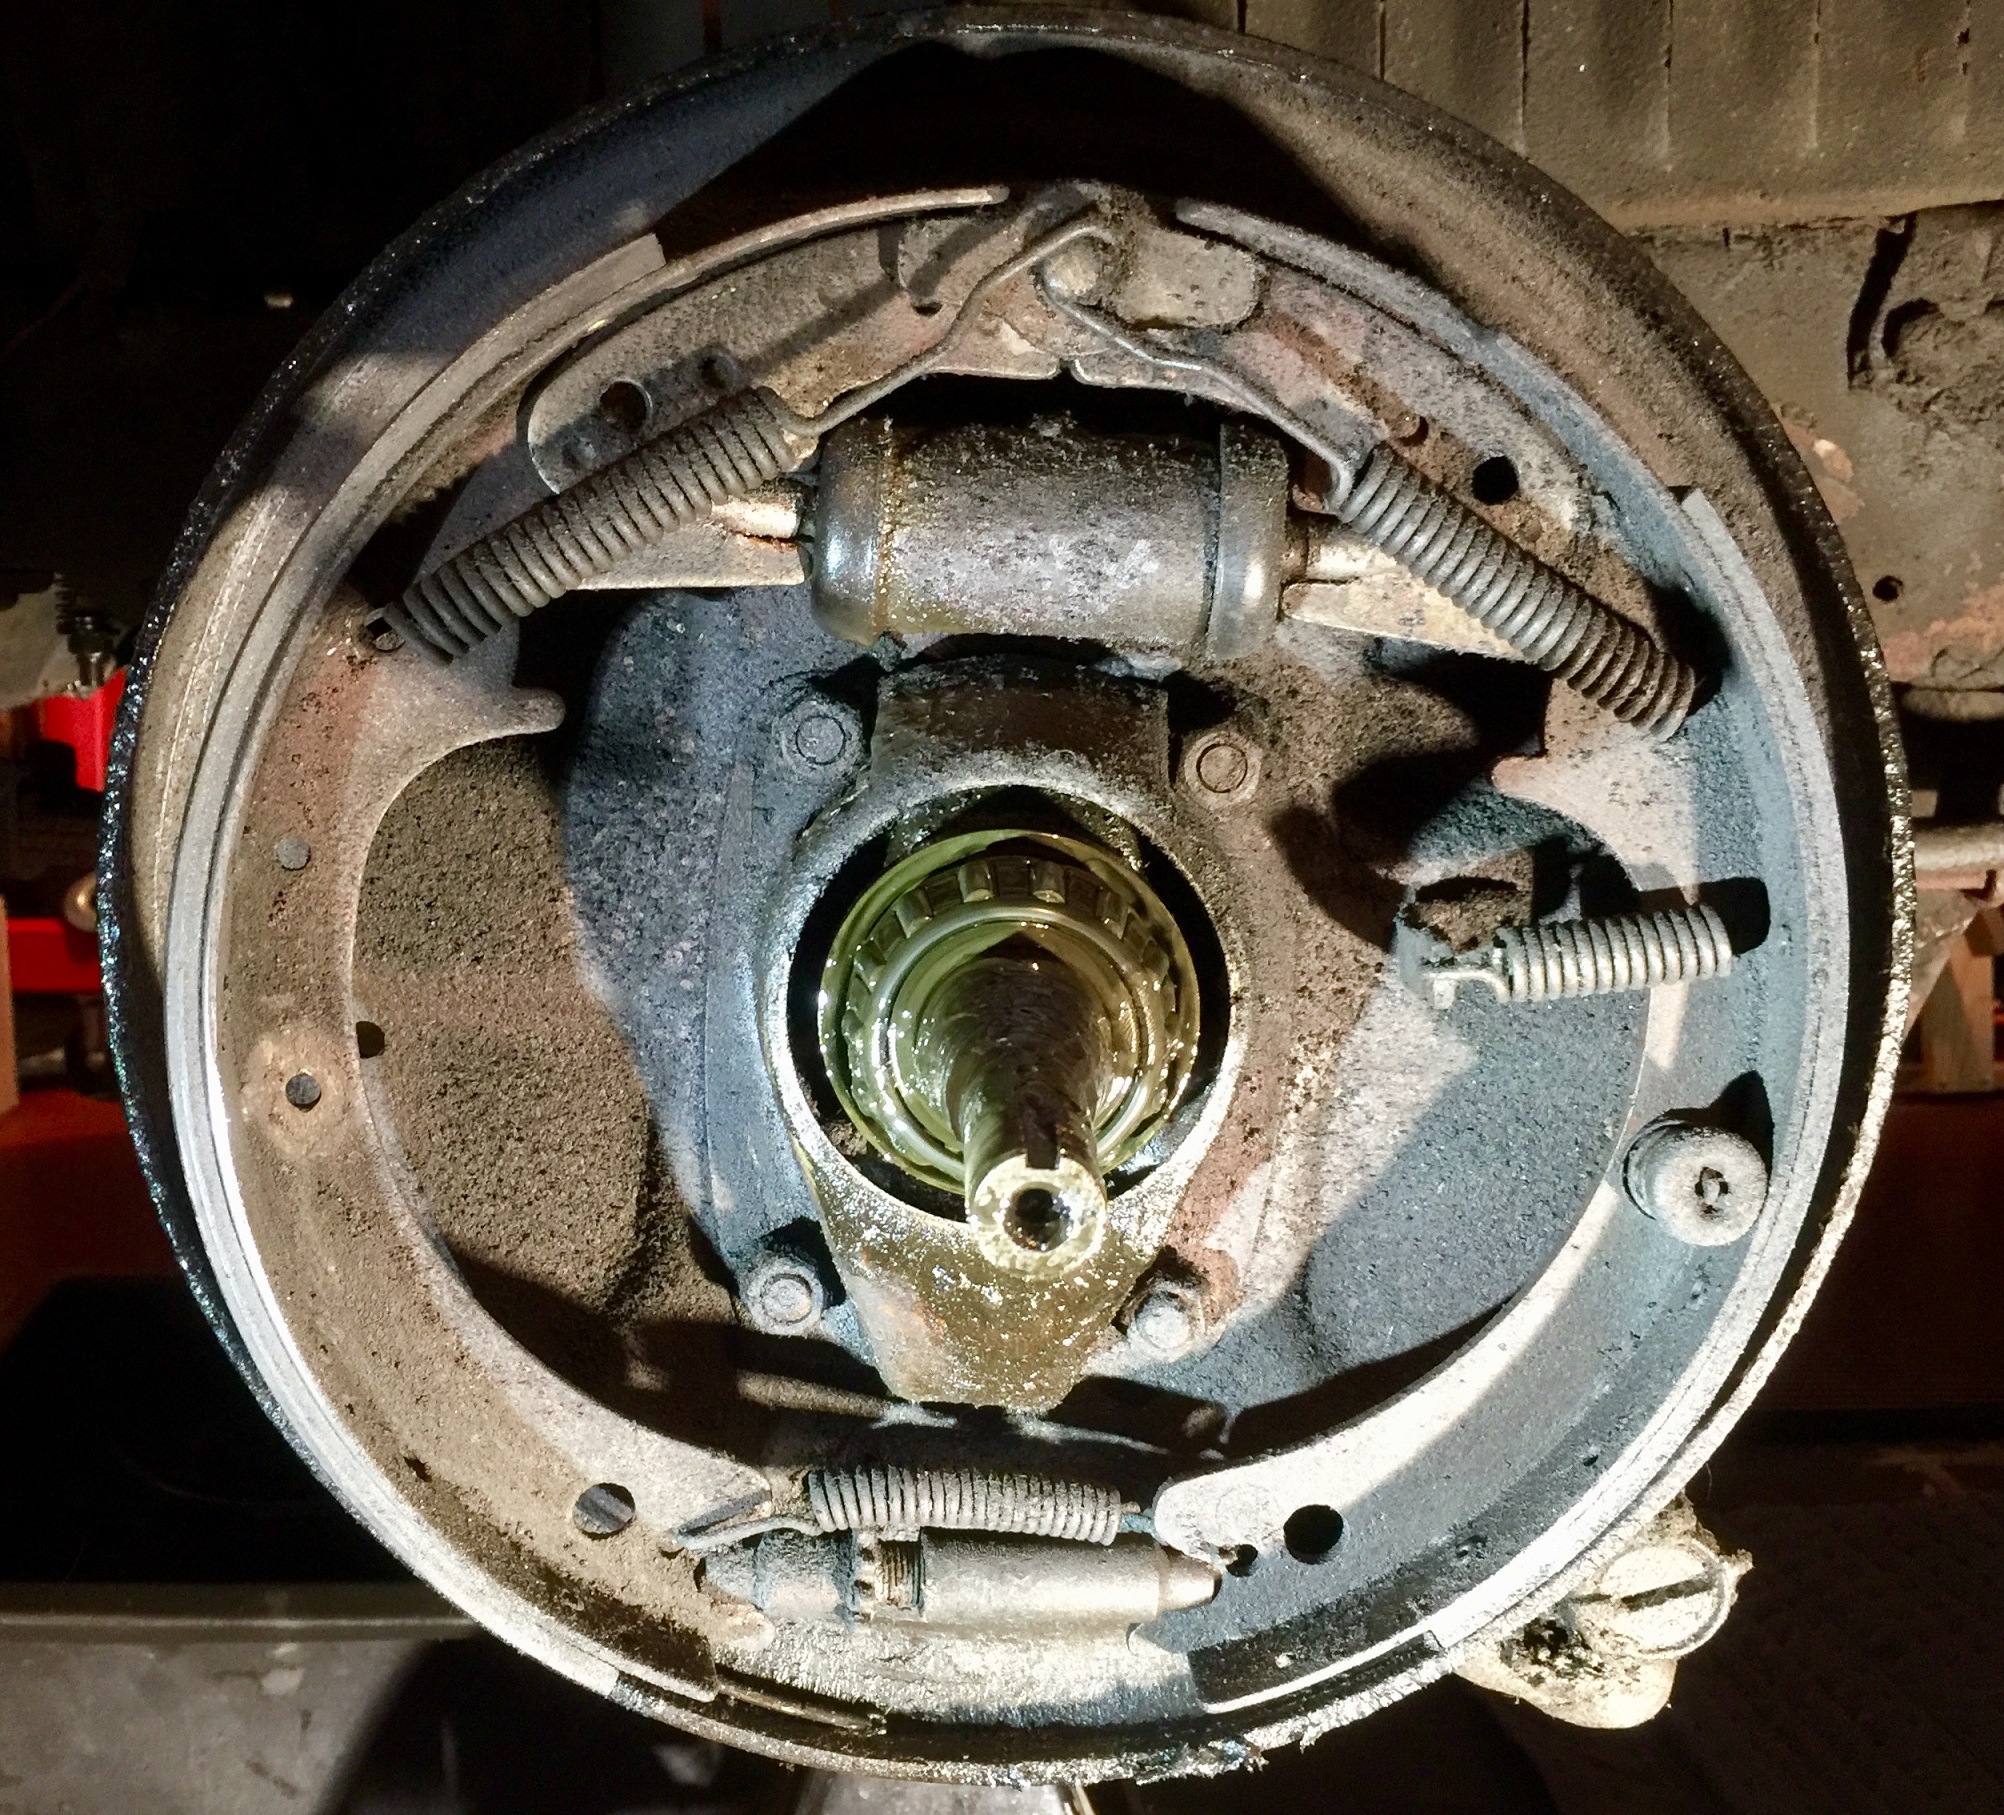
Front Driver’s Side Brakes Prior to Repair
First item was to clean things up, which took a while – there was quite a lot of grease and gunk covering everything. I ordered and received a replacement brake cylinder and some replacement brake springs (see the “Parts” page for part numbers). Fortunately, the brake shoes seem to have been recently replaced and are in excellent condition. The wheel bearings were also in excellent condition and only needed a thorough cleaning and repacking.
Read MoreTest Drive

Well the weather finally cleared this past Thanksgiving weekend and I managed to get Cornelius out for a proper test drive. The skies were sunny and blue, and the temperature was a rare 64 degrees in late November! Susan joined me for no less than 25 miles of country driving, at low speeds and high, up hill and down. Cornelius felt smooth and powerful the entire trip, and the idle stayed smooth and even. Acceleration was smooth, with no hiccups or power fade.
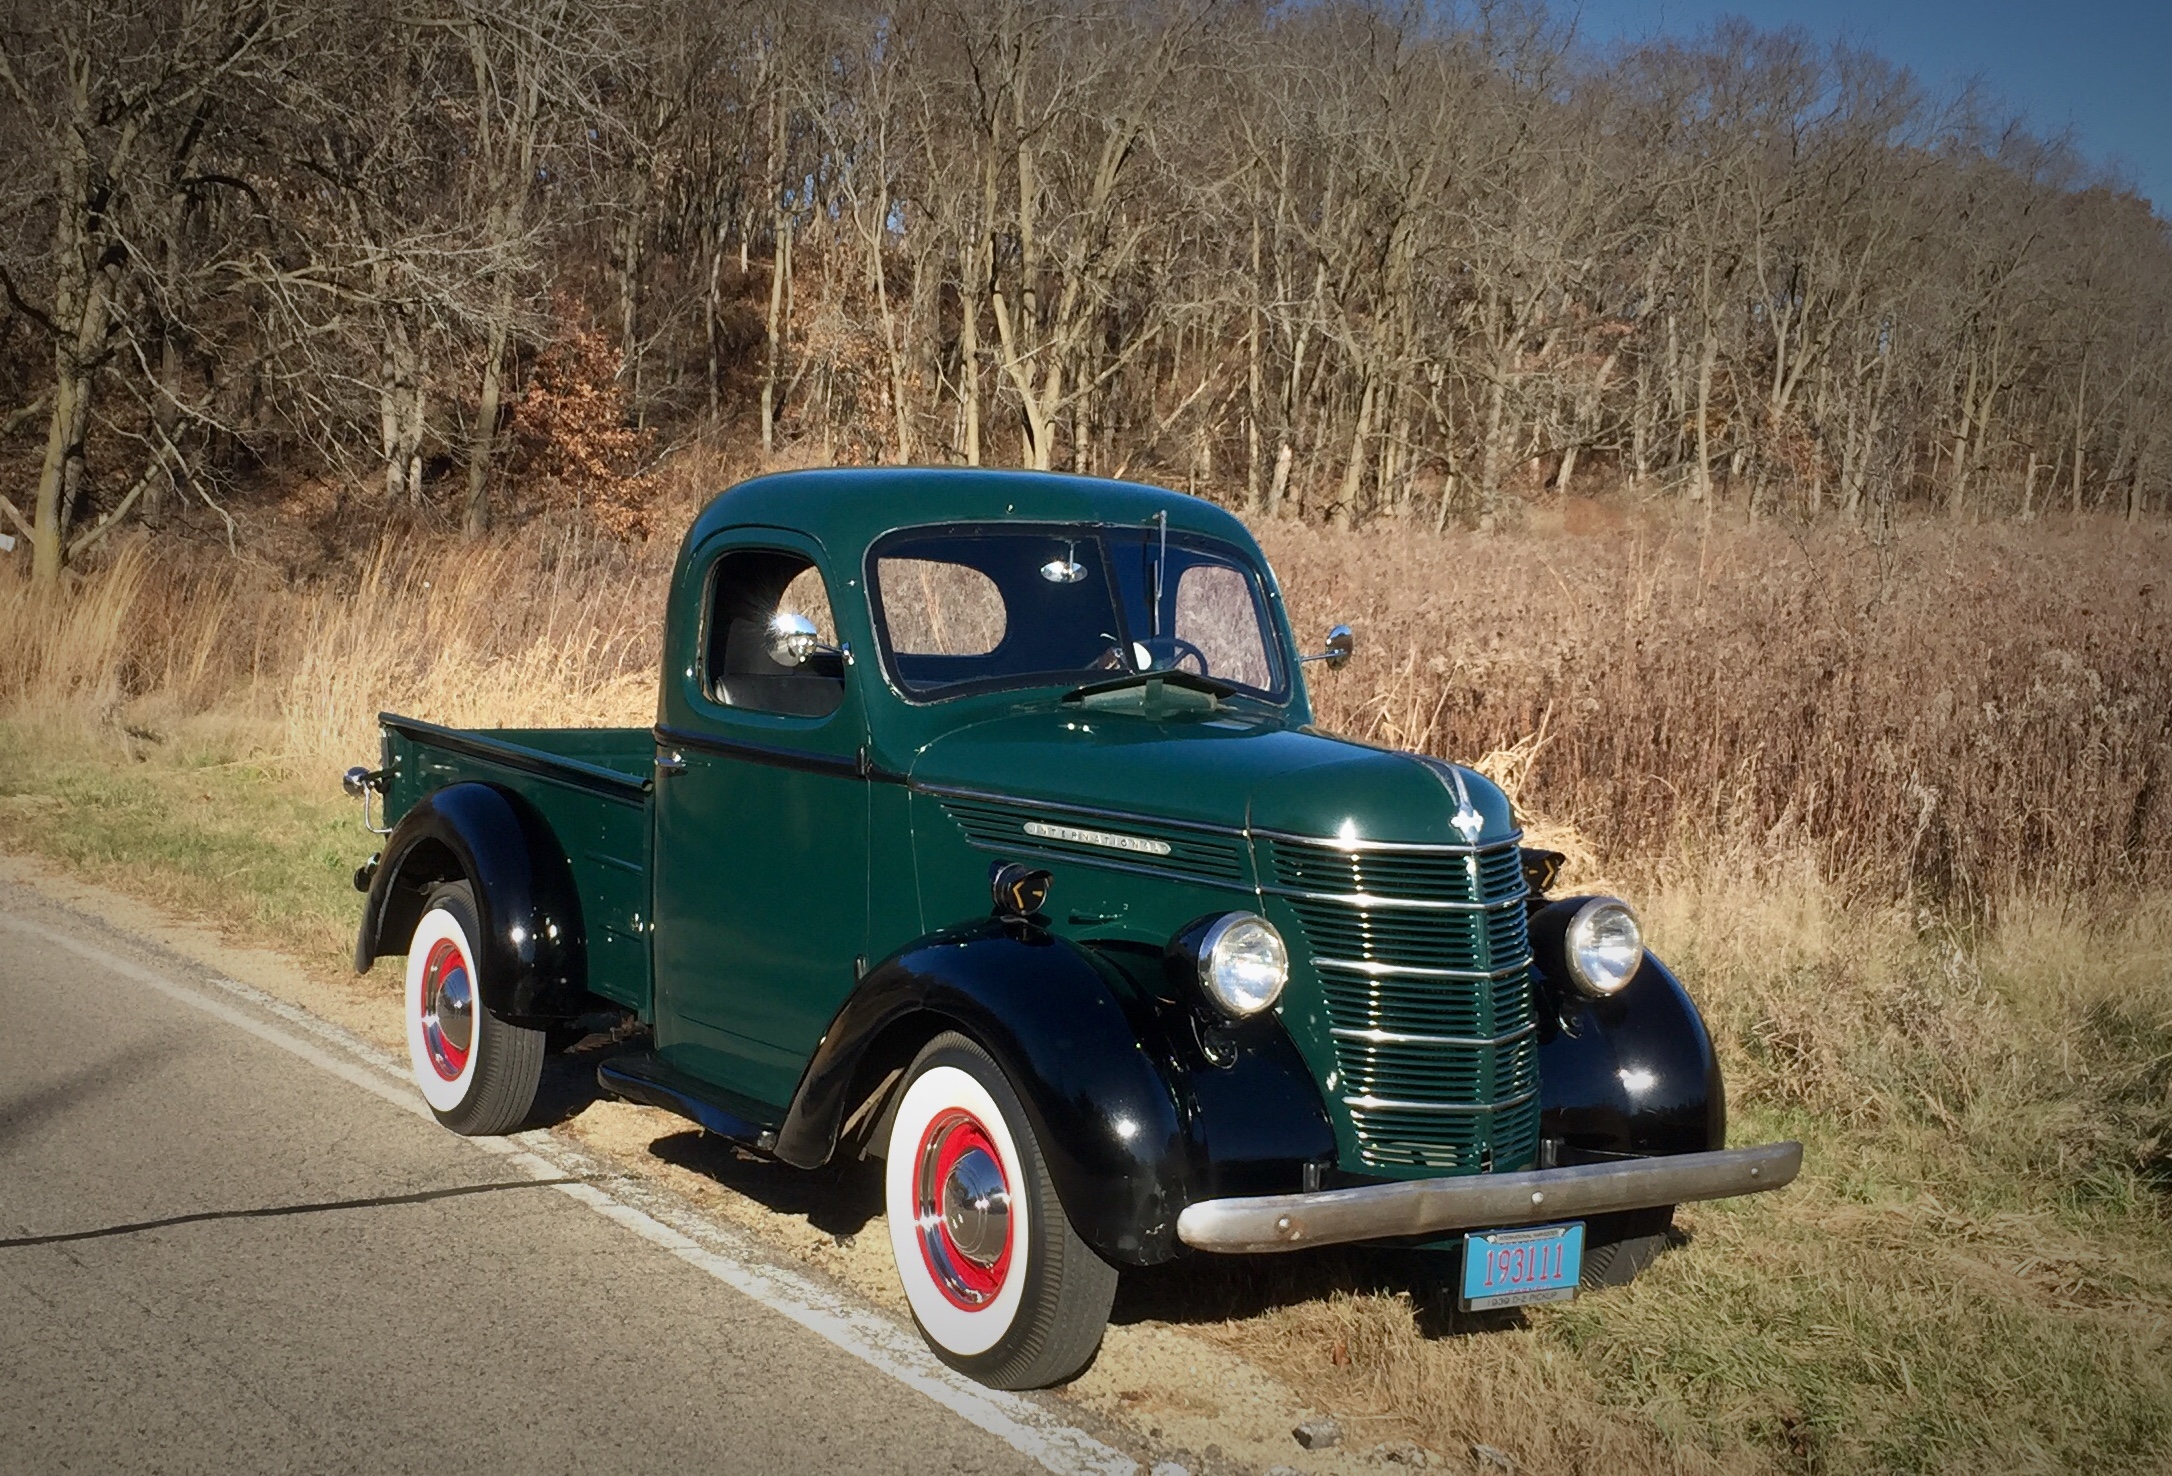
Cornelius Out for Test Drive – November 24, 2017
So after several weeks of tinkering with the stumbling issue, I am happy to report that the fuel supply was the primary problem (we also solved a vacuum issue which also helped immensely – read older posts to see details) and that it has been solved. It was a VERY enjoyable afternoon.
Read MoreNew Fuel Line
So as I had noted in my last post, I felt that the main section of fuel line had to be replaced. I ordered a twenty-foot coil of 3/8″ copper-nickel fuel line and used my brake flare kit to set up a double-flare on each end. This line replaced what had previously been three sections of different types of tubing extending from the gas tank to the engine bay, each joined by rubber tubing and hose clamps.
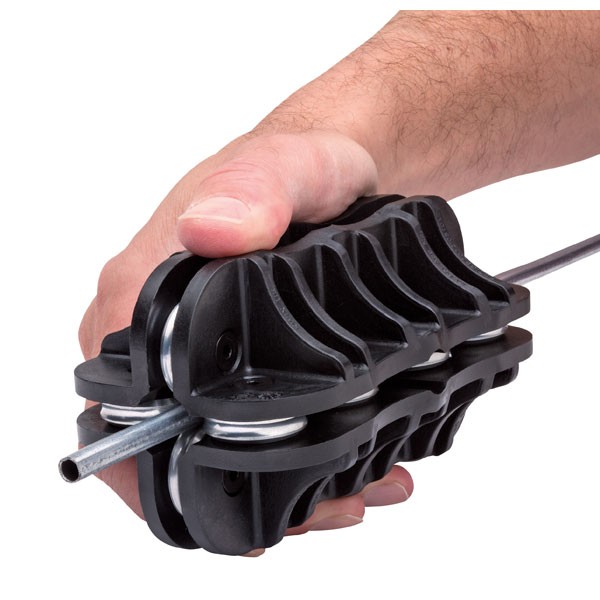
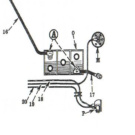
Tubing Straightening Tool
The new line replaces all of that – the only line left in place was a nicely bent section extending from the driver’s side of the engine bay to the passenger side, where it connected to the fuel pump. From the fuel pump there is one more section of line extending to the fuel filter, which is then directly connected to the carburetor. I used an air compressor to blow out the lines I retained after they were drained of fuel.
Read MoreStumbling Along
Within a week or so after replacing the differential oil, Cornelius started to complain a little when going uphill. This was in the form of stumbling when the accelerator was applied.
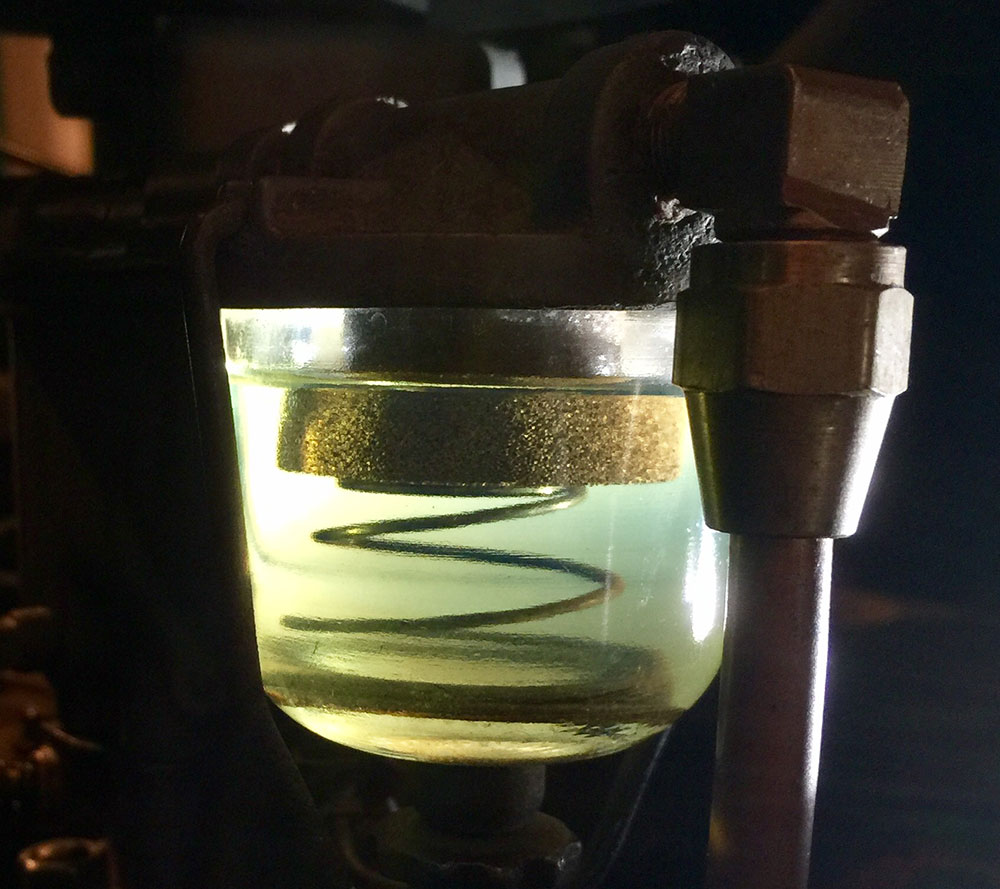
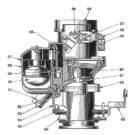
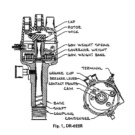
Durex Fuel Filter Prior to Cleaning
My first steps were to check the fuel system and to clean the fuel filters in both the Durex Fuel Filter itself, and the fuel filter contained within the fuel pump. In the Durex unit, the fuel filter is composed of a brass porous element, which I cleaned by agitating it in Chemtool B-12 fuel system cleaner, then blowing through it with compressed air. The fuel pump filter was a brass screen, which was cleaned in a similar fashion.
The result of these efforts? Still stumbling.
Read MoreLove You Gearly
As with all old vehicles, you need to place some cardboard and/or absorbent pads beneath the vehicle if you want to reduce the number of oil stains on your garage/shop floor. I had been noticing that the pad beneath the differential seemed to be collecting a little more oil than I thought was desirable…
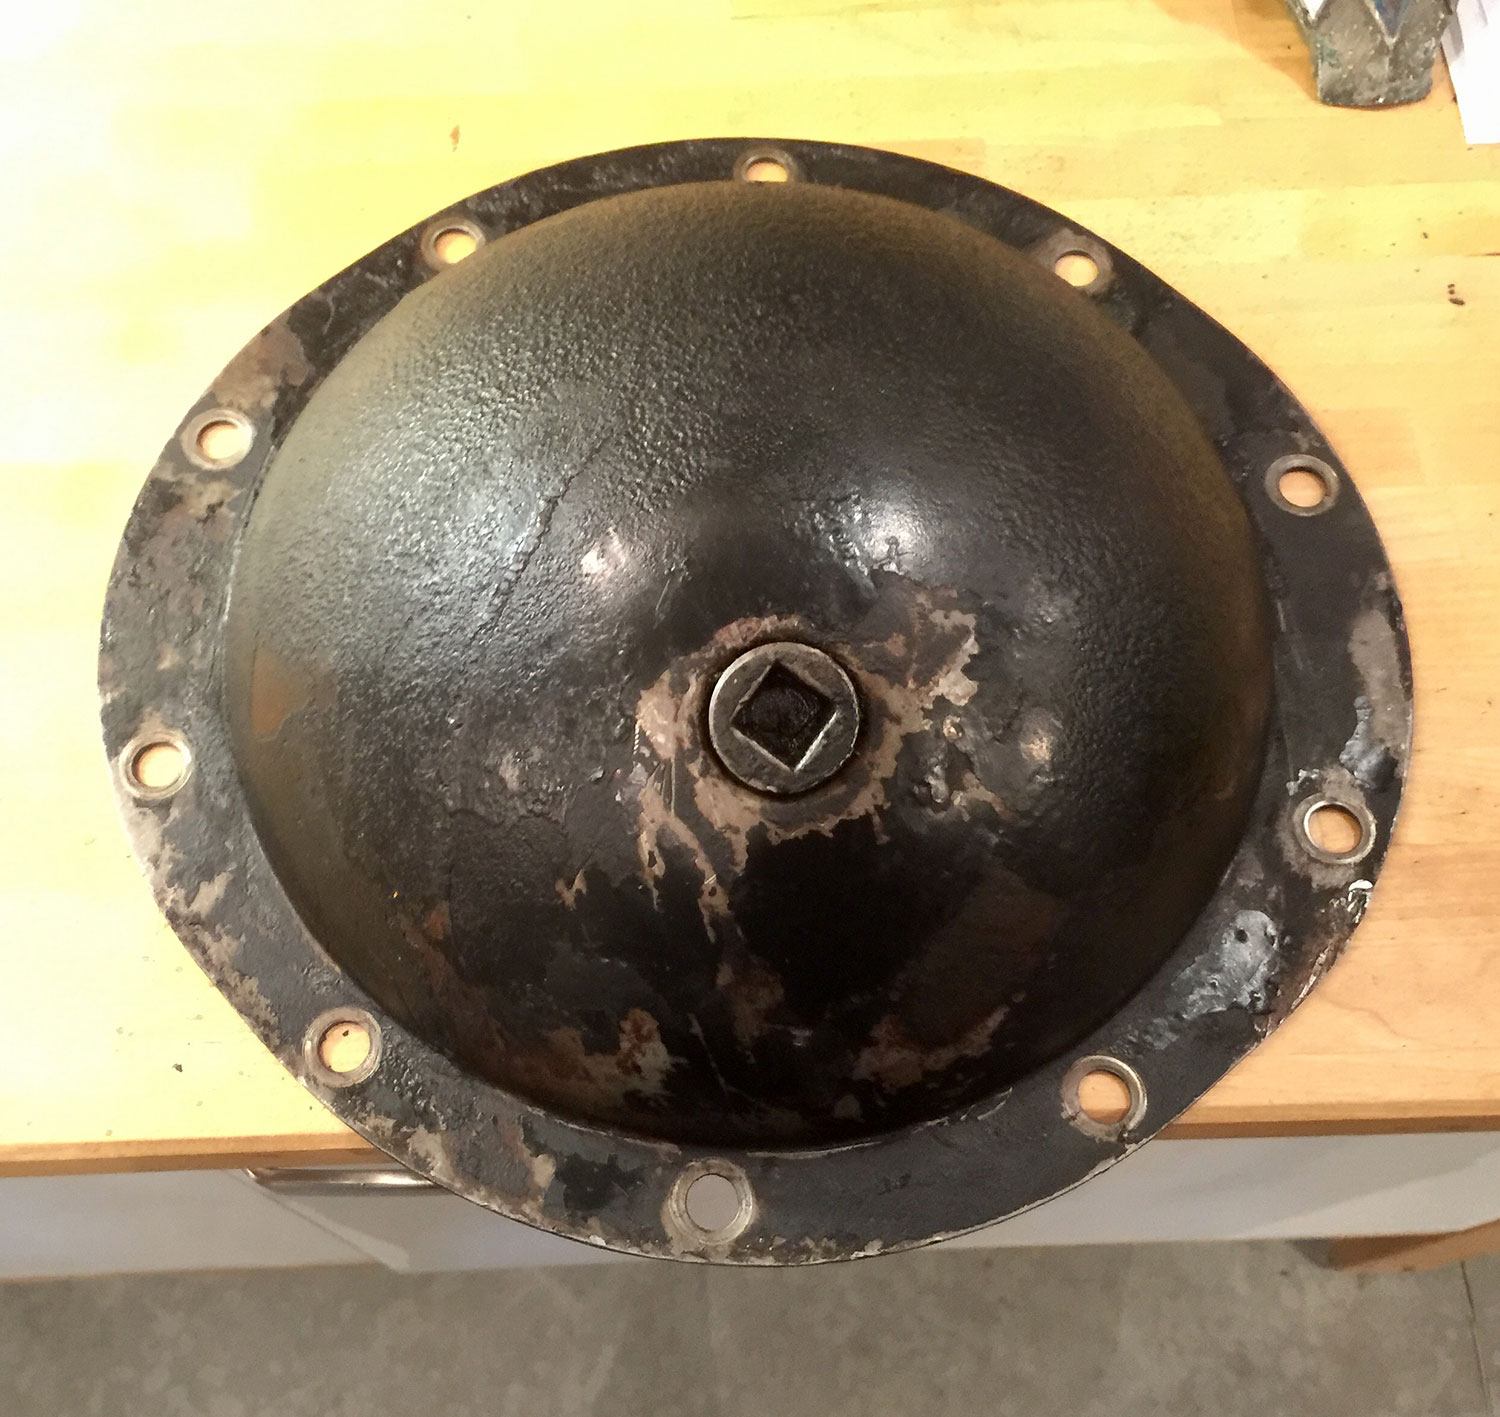
Outside Differential Cover After Cleaning
Also, since I hadn’t changed the gear oil yet in the differential, I felt I could take care of a few things at once.
The differential cover came off easily enough. The oil (as differential oil usually does) looked pretty sludgy. More importantly, I did not see any chunks of metal or shavings in the drained oil. Very happy about that!
Read MoreGrounded
I took a closer look at some of the wiring connections on Cornelius, and noted that the main ground strap from the battery to the frame looked tired and frayed.
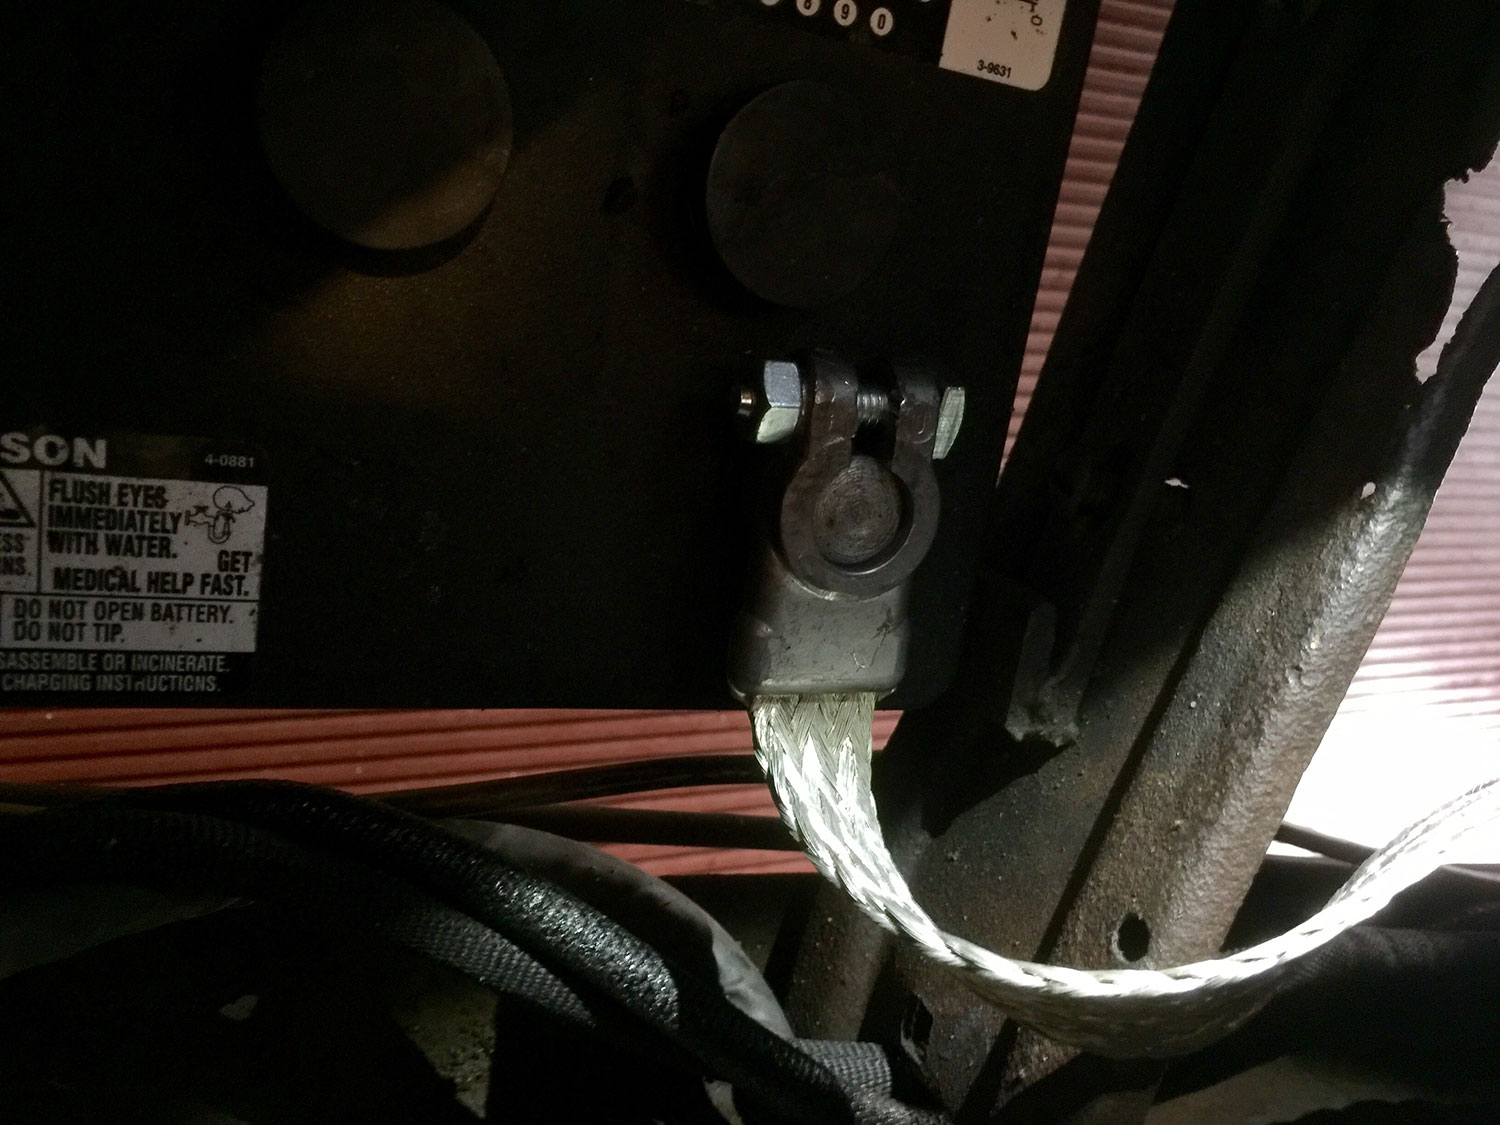
New 14-Inch #2 Ground Strap Installed
While grounding is critical for any automotive electrical system, it is especially so on a 6-volt system! Connections must be clean and tight throughout. Also, you need to remember that a 6-volt system utilizes twice the amperage (current through the wiring) that a 12-volt system does, so the wiring needs to be sized accordingly. You can use #2 wires for the starter and ground on a 12-volt system, but you should use #0 for a 6-volt system (no less than #2 for ground strap).
Read More“Cornelius”
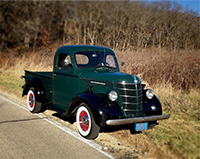
Cornelius Specifications:
- Make: IHC
- Model: D-2
- Type: Pickup
- Capacity: 1/2 Ton
- Wheelbase: 113"
- Year Built: 1939
- Engine: HD 213