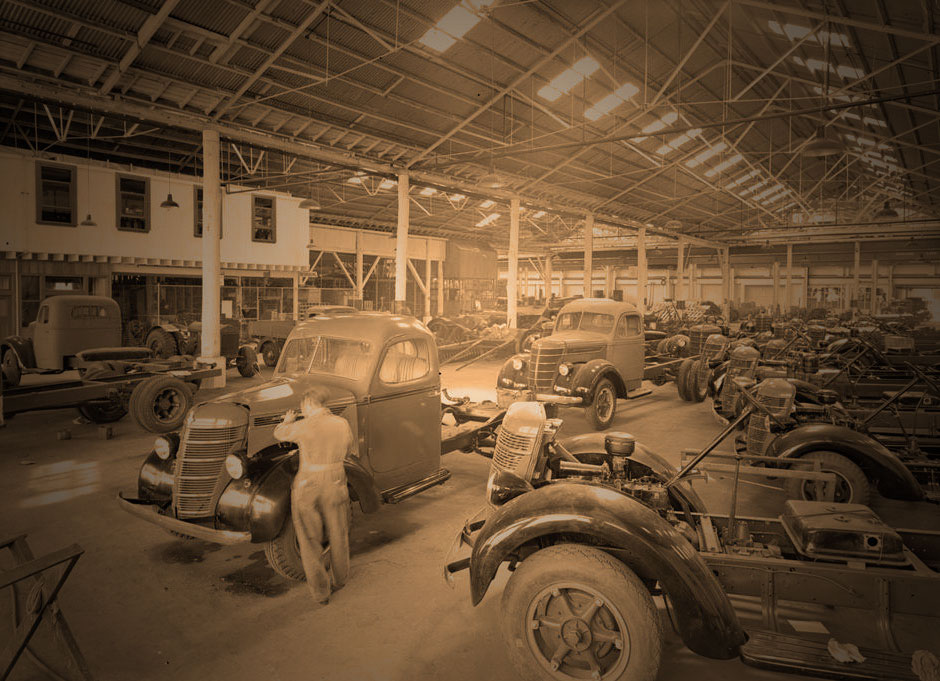
Fine Tuning Your Carburetor
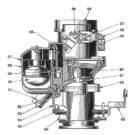
Although I have tuned countless carburetors over the years by “ear”, I decided I wanted to make sure I had tuned my trucks new carburetor to be as efficient as possible. Especially since my hearing is NOTHING like it used to be!
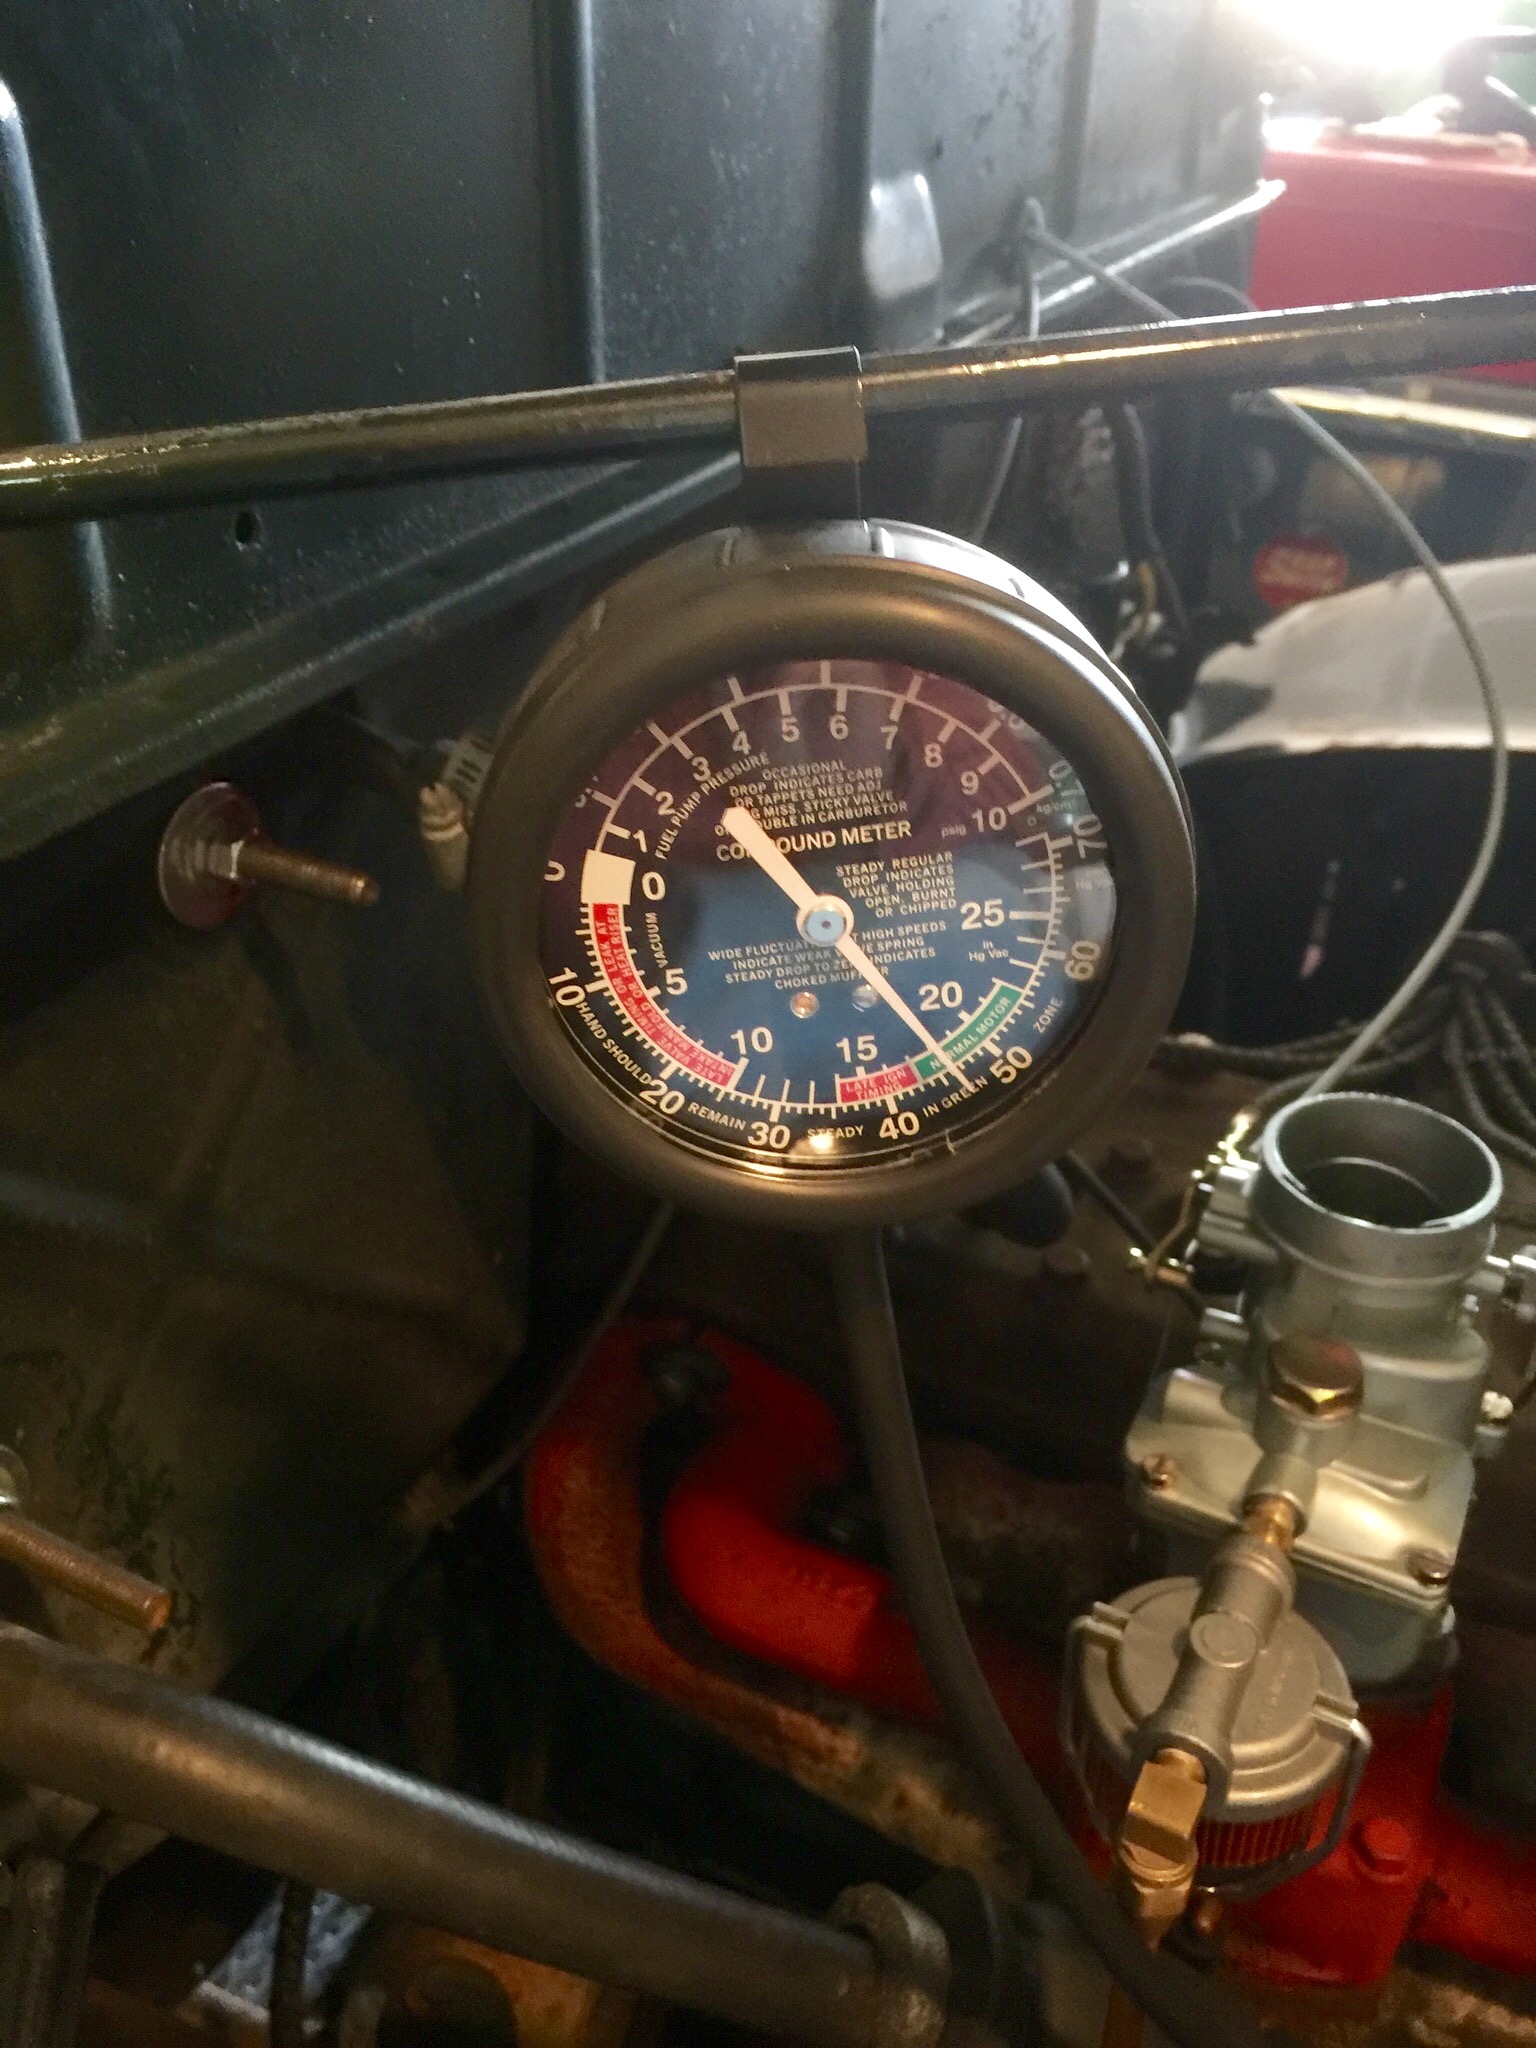
Tuning Carburetor With Vacuum Gauge
The next step in carburetor tuning is via a halfway decent vacuum gauge. You connect the gauge to a vacuum source – in this case I connected to the line right off the intake manifold that runs to the vacuum advance unit on the distributor. I immediately saw a wobbly reading of approximately 16.5 inches of vacuum. After adjusting the mixture, it rose to a little over 18 (you want to see between 18-20 or so) and was pretty steady. Also, the periodic “puff” in the exhaust decreased, which was good.
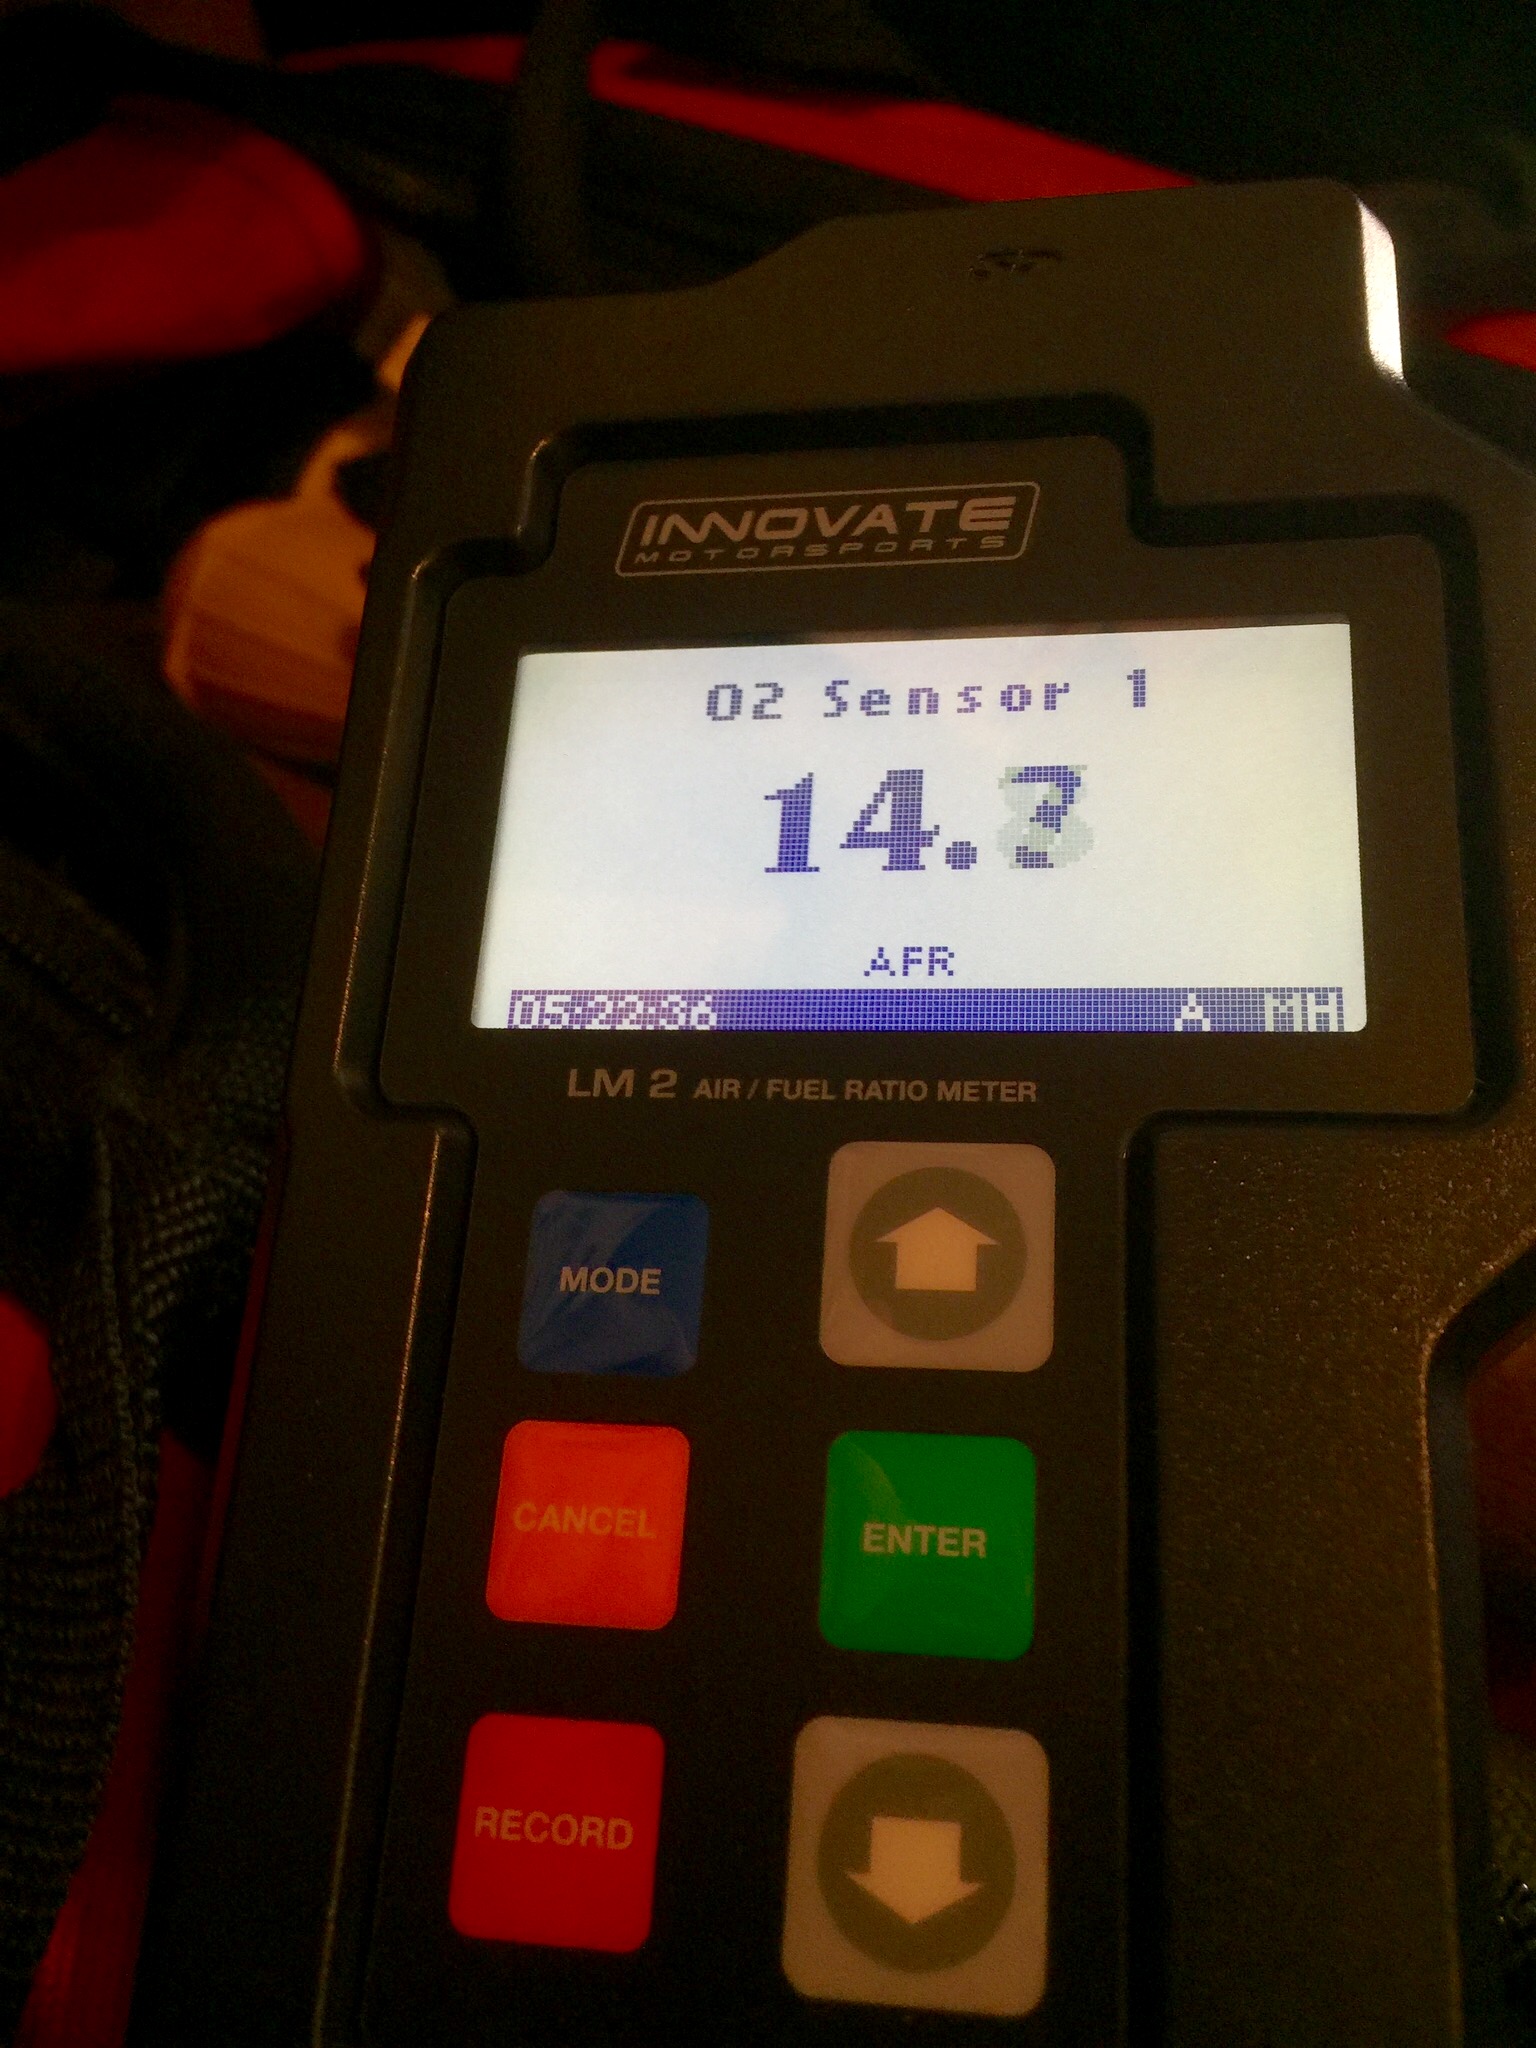
Tuning Carburetor With Air/Fuel Ratio Gauge (Innovate LM-2)
I decided, based on some reading, to invest in an air/fuel ratio gauge (Innovate LM-2 / I can use it on my motorcycle as well) and upon connecting it, saw between 16-17. This was quite lean as the optimum ratio is 14.7, and in reality should be between 13 and 14 for most vehicles. After further tuning, I was able to achieve 14.5-14.9, with an average of around 14.6. Any further changes would need to be via changing jets in the carb. I tested the air/fuel ratio at idle, at 2,000 rpm and at approximately 3,500 rpm with pretty consistent results, so I am very happy for now. The pickup, when pressing the accelerator, is instantaneous, without any missing or grumbling from the truck. Best of all, that annoying “puff” that seemed to occur randomly stopped altogether. I am very happy with the gauge, its ease of use, and the results I achieved with it!
By the way, since I didn’t want to weld a bung in my exhaust for the oxygen sensor, I purchased the optional exhaust clamp. Easy to use and can be transferred temporarily to any vehicle.
6 Comments
“Cornelius”

Cornelius Specifications:
- Make: IHC
- Model: D-2
- Type: Pickup
- Capacity: 1/2 Ton
- Wheelbase: 113"
- Year Built: 1939
- Engine: HD 213
Thanks for the information on carb settings! I am needing to find a rebuild kit for my Holley carb (220 SD engine) with the glass float chamber. What carb model is it? and where can I find a float and rebuild kit?
Thanks for the help!
Hi Greg,
The carburetor with the glass float on the SD220 is a Holley Model 1904. It is a very common carburetor and easy to work on. The only real issue with these carbs is over tightening the screws holding the float bowl on – it can warp the frame that holds the bowl on and cause it to leak.
John
Hello!
I’m about to resume restoration of my 1951 IHC L series, and I’d like to start a website similar to yours. Did you use word press? If so, are you able to share the template with me somehow?
Thanks!
Nic
Hi Nic,
I am indeed using WordPress, and the theme is a personally modified version of “Memoir” which can be downloaded from WordPress themes.
Good luck with the website!
John
Can you give me some better detail on what you adjusted on the carburator. Just the idle air screw?
Hi Rich,
At idle, yes – I am primarily adjusting the idle mixture screw. The overall procedures I followed are detailed in the carburetor service manuals that are found in the Library section of this website. There you will find how to verify proper jet size, float height settings, etc.
Good question 🙂
John