Stumbling Along
Within a week or so after replacing the differential oil, Cornelius started to complain a little when going uphill. This was in the form of stumbling when the accelerator was applied.
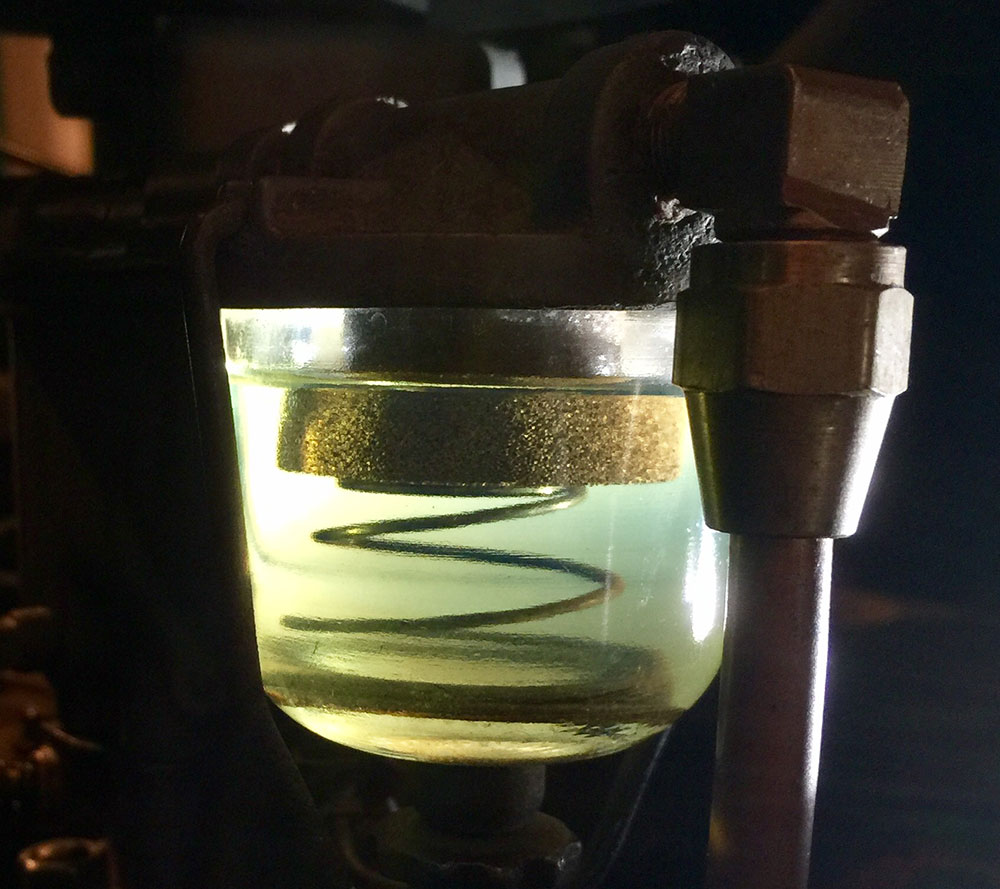
Durex Fuel Filter Prior to Cleaning
My first steps were to check the fuel system and to clean the fuel filters in both the Durex Fuel Filter itself, and the fuel filter contained within the fuel pump. In the Durex unit, the fuel filter is composed of a brass porous element, which I cleaned by agitating it in Chemtool B-12 fuel system cleaner, then blowing through it with compressed air. The fuel pump filter was a brass screen, which was cleaned in a similar fashion.
The result of these efforts? Still stumbling.
OK, time to get a little more serious. It could still be a fuel problem, but whether I let the engine idle or rev it up in the garage, there seems to be plenty of fuel (at least at idle) and the fuel filter is always full. I could perform a fuel pump check, but will hold off on that for now as I do not feel that the pump itself is the issue.

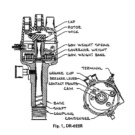
NOS Delco-Remy 622R Distributor as Pictured on eBay
So on to ignition system checks. It could be a mechanical advance issue or it could be a vacuum advance issue. I start by checking the vacuum advance with a vacuum pump and gauge that I use for brake bleeding. With the vacuum gauge hooked up, I should be able to then apply a vacuum, and the vacuum advance unit should HOLD vacuum until I release. Well, during testing, I applied vacuum and the vacuum advance held, for about 1, maybe 1.5 seconds, then dropped off rapidly. I believe we located our problem.

Delco-Remy 622R Distributor – Disassembled for Cleaning
The vacuum advance unit on a Delco-Remy 622R distributor is also a Delco-Remy part, and it is part number 681-E. I looked everywhere, and there are none to be had that I could find. The next step was to find a reputable firm that would refurbish the unit, and I found a good company with O.D.D. Parts Fabrication, Inc., owned by Jim Simpson. I had contacted Jim, and to my relief, he indicated that he had a ton of experience with these units, so off it went in the mail to Jim. As per his website I had expected a two-week turnaround, but Jim received it on a Monday and had it back in the mail to me on a Tuesday!
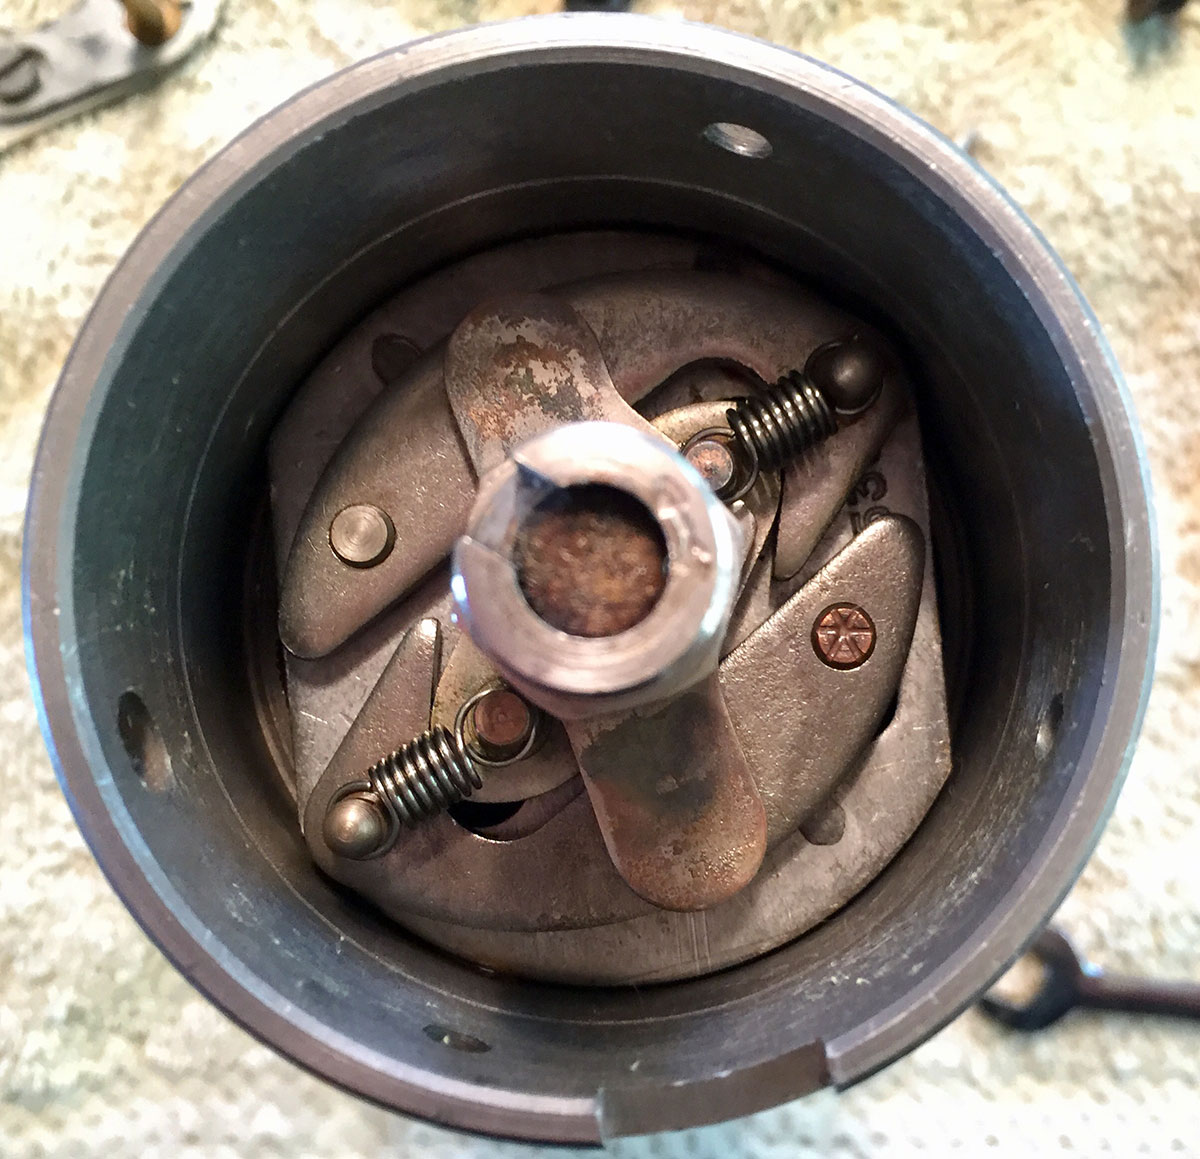
Close-Up of Centrifugal Advance on Delco-Remy 622R Distributor
So I asked him – was there in fact anything wrong with the unit? He said that while the original diaphragm was still intact (amazing), the metal crimping around the unit was failing and that was the cause of the loss of vacuum. Jim has cleaned, replaced the diaphragm and recrimped the entire unit such that I have a basically new vacuum advance to re-install. I wish I had taken a photo of the black, oxidized, grease and grime covered unit before I sent it off to Jim so you could appreciate, as I do, the amount of work he put into it – it looks amazing.

Delco-Remy 622R Distributor – Cleaned, Repainted, Polished, Adjusted and Oiled
While the vacuum advance was out, I felt it was a good time to take a close look at the distributor. On my initial inspection, the distributor, while working, looked pretty worn, so I had located a “NOS” distributor on eBay. The thing about a 1939 new old stock item is that while it may not have much wear, you have to be aware that it may have rusted and any rubber parts may have hardened and/or cracked over time.
The NOS distributor I found looked to be in decent condition with only some cleaning and oiling required. The main shaft was pretty much dried into place and wouldn’t even turn at first. Some oil and patience and now it seems to be as free as it should be. I also decided to polish up some bits while I was at it. Finally, since the distributor case was a little scratched up, I gave it a quick coat of black paint. I packed the grease cup with new bearing grease, set the points gap to 0.021″ (specification is 0.018″-0.024″), and the distributor itself is ready to go.
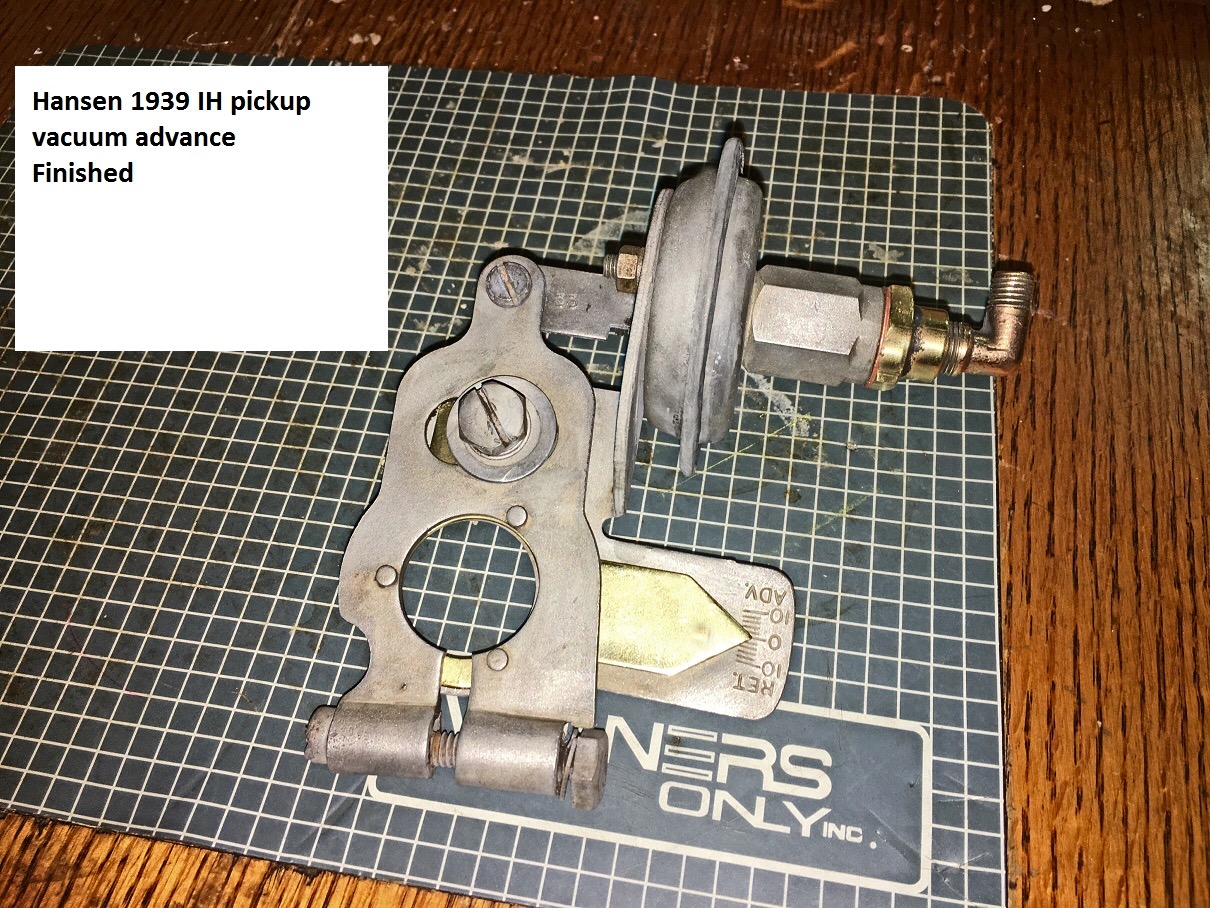
Restored Delco-Remy Vacuum Advance Unit
Only one small item holding me up now. When I pulled the original distributor out, there was a small fiber gasket between the base of the distributor and the engine block that crumbled into three pieces as the distributor was removed. I had a hell of a time trying to find another fiber gasket/washer like this until I contacted Olson’s Gaskets, who were able to make some for me at $2.50/ea based on my measurements (1-1/4″ OD, 1″ ID, and 3/16′ thickness).
While I was waiting for the fiber gasket to arrive, I decided to order a vintage dwell meter so that I could verify my timing. I found a great old analog meter that works on either 6 or 12V systems on eBay for $10 and am very happy with it. When I checked the timing, it indicated 35 degrees of dwell, which was spot on.
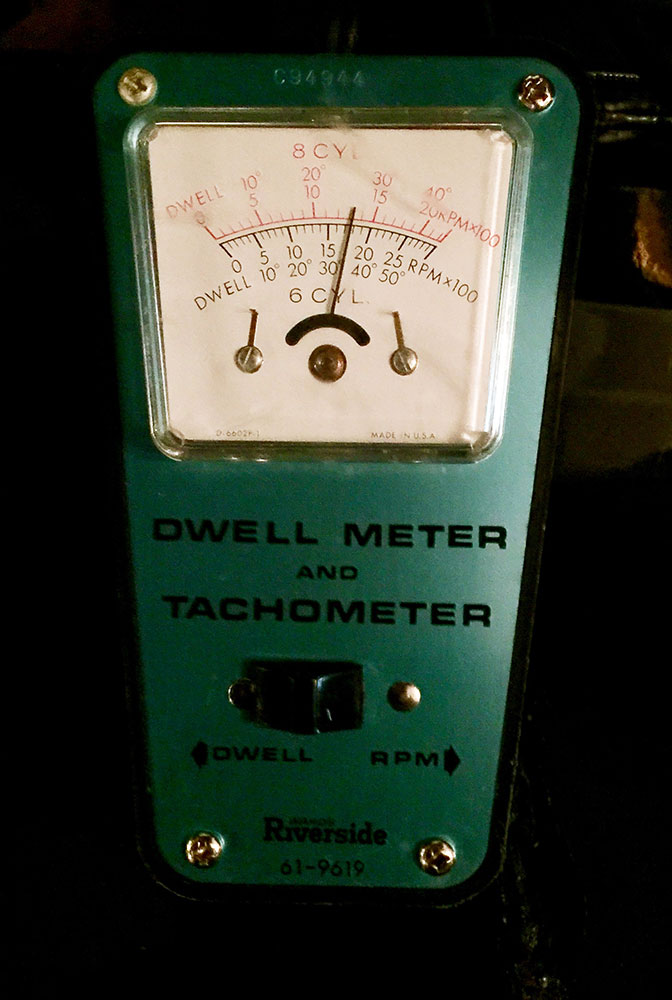
Riverside 6/12V Dwell Meter in Use – Showing 35 Degrees
So the new distributor is installed, the timing set, and finally verified with the dwell meter. How did the test run go? Well Cornelius fired right up and idled smoother than ever. For a while it was running super with no issues whatsoever – no power loss, no stumbling. Then, on a hill a little further out, it stumbled again! Nothing left to check but the fuel pump and the fuel lines since the issue is sporadic (if it were more consistent, I would suspect the carburetor). When I pulled the line in front of the fuel pump on the bottom passenger side of the motor – nothing! This line is below the level of the fuel tank and should have been dribbling fuel but nothing at all was coming out. THIS, finally gives an indication of the problem. I will be testing the fuel pump to be sure, but I will also be replacing the fuel line between the tank and the pump. The line is patched in several spots and could easily be the issue.
I do not condone simply swapping out parts to tackle a problem. Should I have analyzed the fuel system a little better up front? YES! BUT, I was planning on replacing the items I replaced anyway, and there were issues with the vacuum advance and distributor.
So, look for a short write-up on the fuel line soon 🙂
4 Comments
“Cornelius”

Cornelius Specifications:
- Make: IHC
- Model: D-2
- Type: Pickup
- Capacity: 1/2 Ton
- Wheelbase: 113"
- Year Built: 1939
- Engine: HD 213
John,
Thank you for sharing the Cornelius adventure with us… Loved reading your posts.
I actually believe I too tried to buy this very same truck when it was posted on Craigslist I believe about the same time frame. The gentleman I had spoken with said it was listed for a widow who’s husband had owned and enjoyed the truck. So glad that it found a loving and caring home. Appears that it couldn’t have found a better care taker. Congratulations to you both!
Thank you Kerry, your comment is much appreciated.
John
Greetings. I am in UK and refurbishing fuel system on D-15 to include replacement NOS Remy-Delco distributor. The brass arrow indicator on the advance/retard is detached from the clamp. Should this be riveted as indicated in your photo? It looks as though the ‘tail’ with circular hole is clamped with the bolt & spring – which prevents the arrow from moving on mine? Something seems incorrect. Any advice much appreciated. Thanks – Andy in UK.
Hi Andy,
Excellent question – after reviewing the instructions on setting the timing on the distributor, something seemed out of place to me too. There is supposed to be a bolt/spring assembly holding the vacuum advance in place such that some movement is allowed. I am in the process of hunting for that very specific bolt. I hope this addresses your question?
John