That’s Rad!
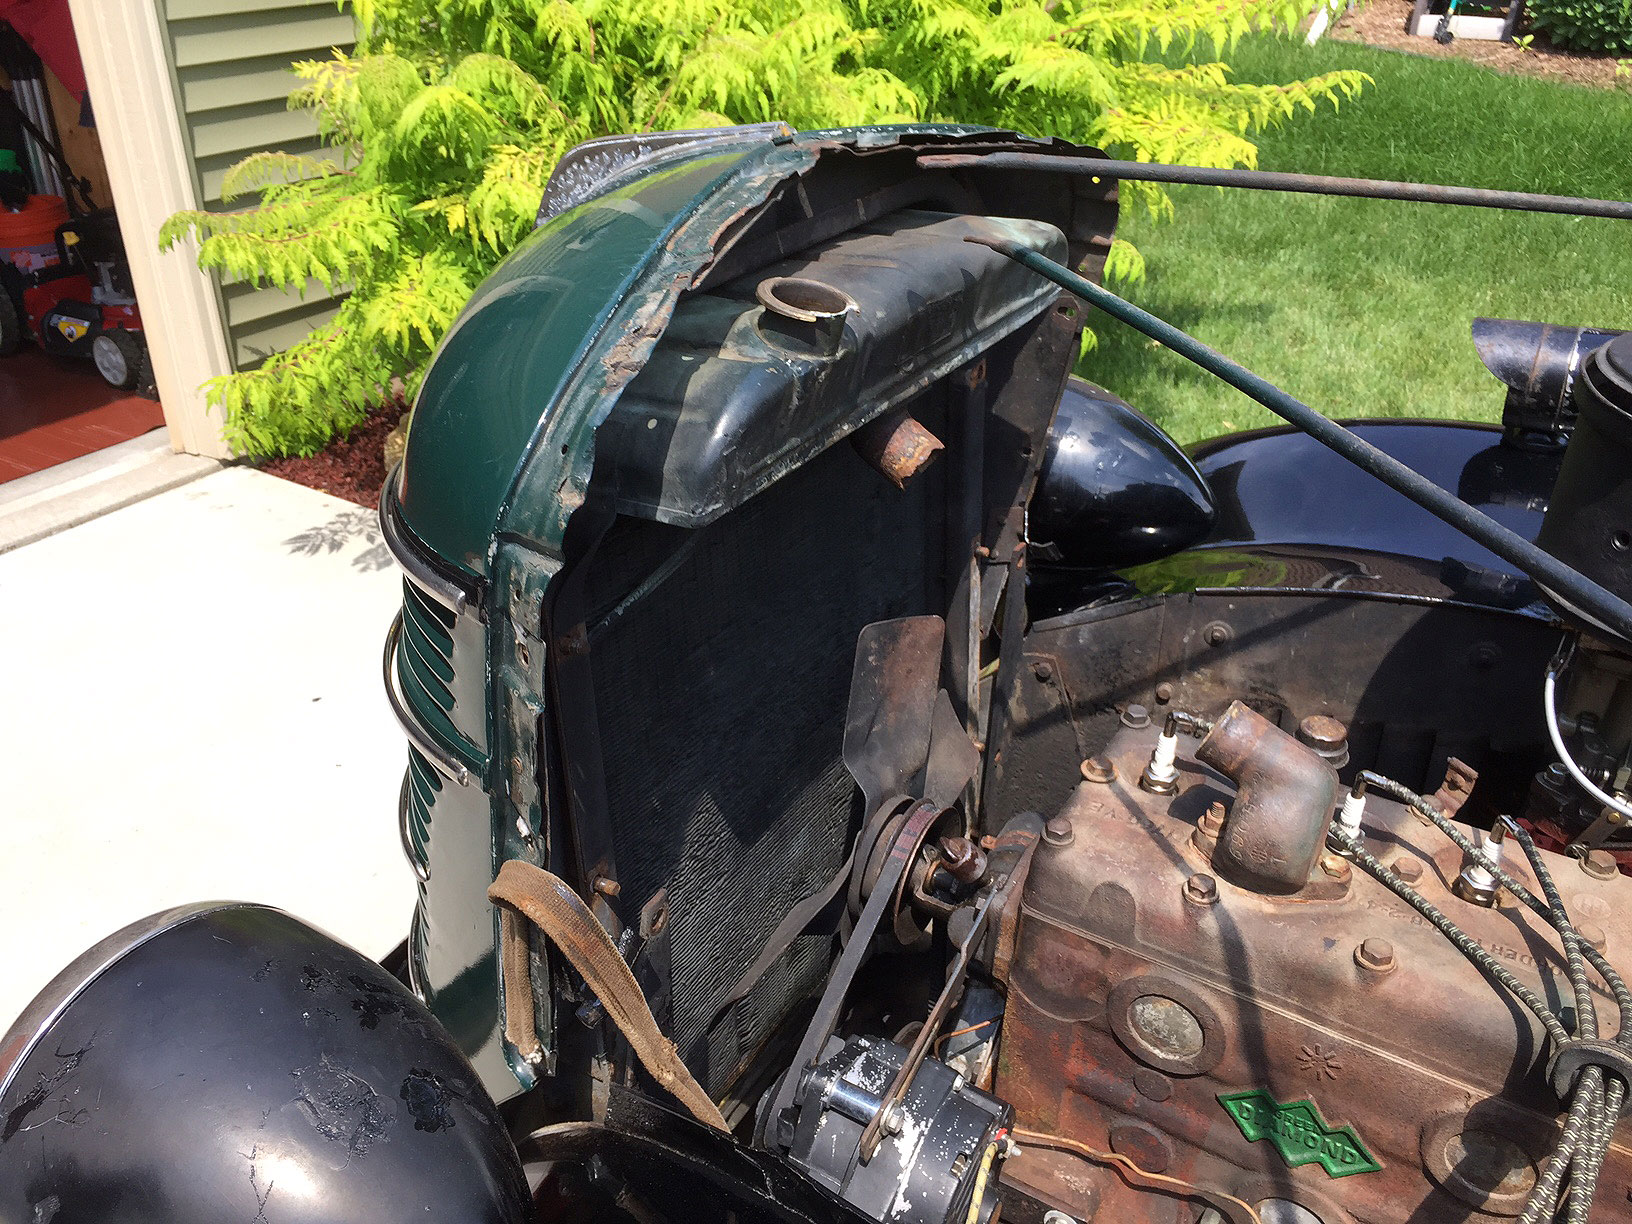
At this point the truck is running pretty well, however I have been noticing some small leaks at the thermostat housing on top of the
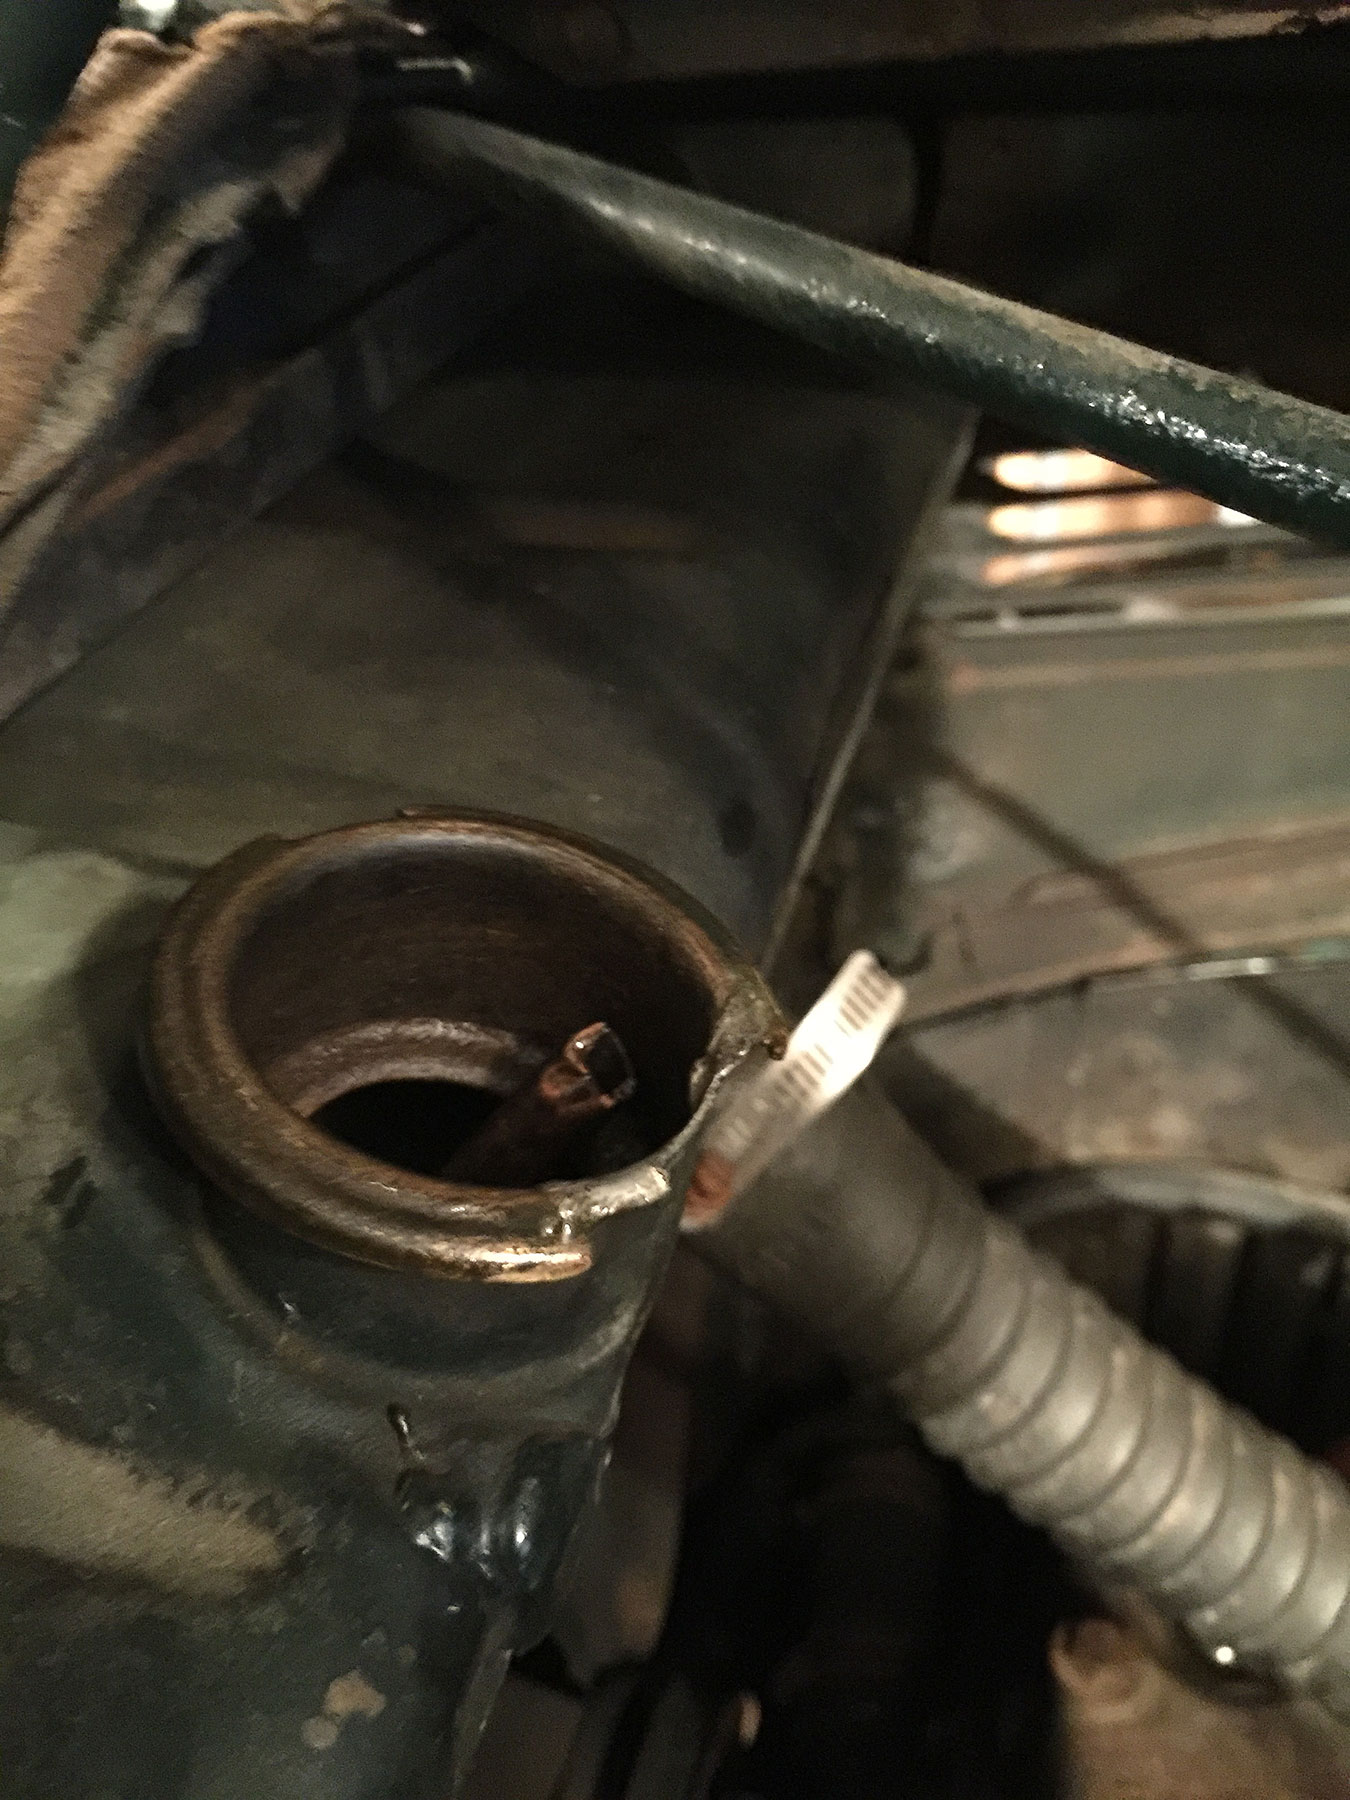
Damaged Radiator Inlet
head and there are also at least two or three small leaks within the radiator itself. On top of that, part of the lip on the radiator filler inlet has broken off, which does not allow the radiator cap to fasten properly. I have some work cut out for me. This effort pretty much takes up the month of July, all told.
Removing The Grille and Radiator
I first start by sourcing parts, and thanks to the Old IHC forum (The finest IHC forum and excellent source of information, in my opinion, and not just because I have been one of the admins there since 2009!) I was able to obtain a part number for the thermostat (Stant 13368 / 180 degree). The thermostat housing gasket was available from Olson’s Gaskets (Very friendly, knowledgeable service).

Truck After Radiator & Grille Removal
I found some excellent, vintage-type radiator hoses (the Parts Manual specifies a hose ID of 1-9/16″, with one hose length of 10″ and two 3″ lengths) through Restoration Supply. They did not have 1-9/16″ ID, but I purchased and used 1-1/2″ ID (1-7/8″ OD) and was able to make it work.
Disassembly

Radiator and Grille After Removal
Now it’s time to start disassembly. To remove the radiator on the D-2, you have to pretty much remove most of the front clip. Many guys remove the fenders in addition to the grille, but I was able to get by with just removing the grille assembly.
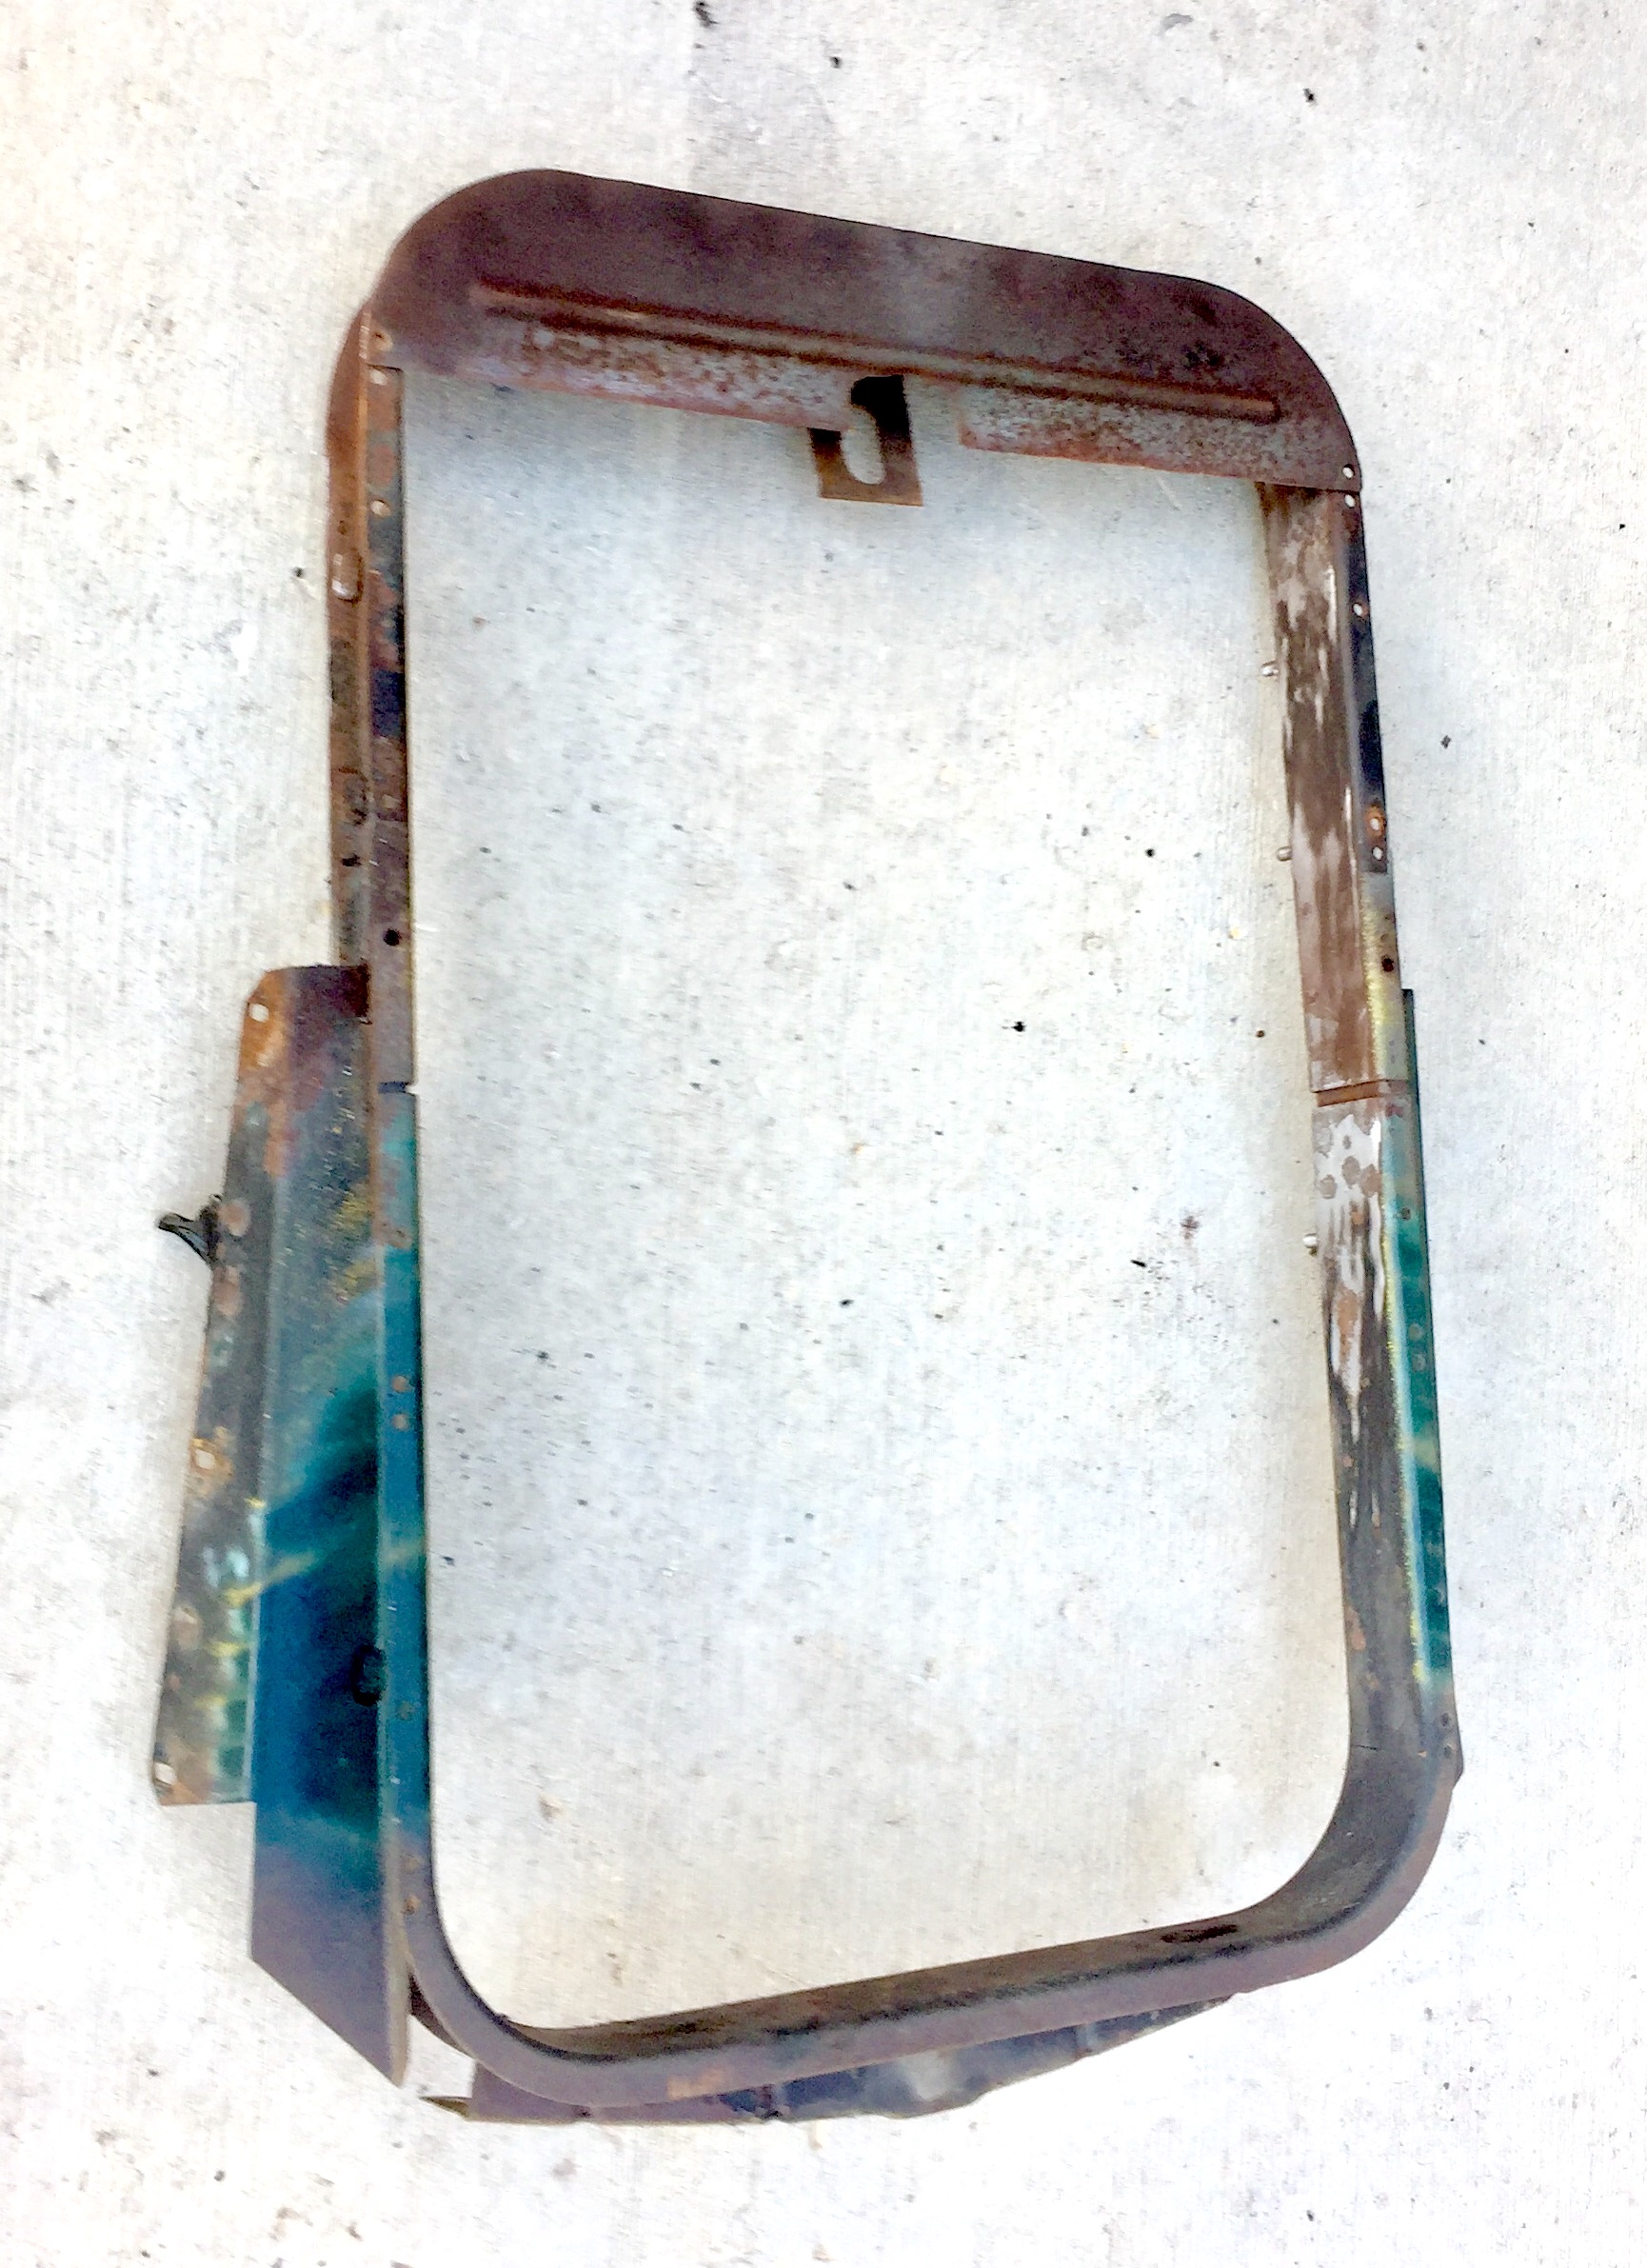
Rusty Radiator Support
Once the radiator was removed, I took it over to BRS Radiator in Madison to have it cleaned, tested and repaired. Brandon at BRS tested the radiator, found some old patches that needed redoing, repaired several small leaks, and repaired the inlet. They painted the radiator and even straightened the fins as best they could. Overall, they did an excellent job. I decided to play it safe, however, and I gave the radiator a few coats of Dupont High Heat semi-gloss black once I had it back home.
The radiator support was pretty rusty, so trying to clean it by hand quickly became overwhelming. I opted instead to have it sand blasted then powder coated with a semi-gloss black at Apex Coatings (where I do all my powder coating business) in Middleton. Jay at Apex, as usual, did an excellent job of cleaning and coating. He also straightened a few dents out for me.

Newly Powder Coated Radiator Support
The thermostat housing was pretty rusty and needed a thorough cleaning. I accomplished this by soaking it in cleaning strength vinegar for approximately 36 hours, then washing the vinegar off. You need to really wash the part afterwards so that the vinegar doesn’t affect your coating afterwards. I then painted it with Dupont High Heat semi-gloss black spray paint. I am happy with the results, especially the vinegar rust removal.
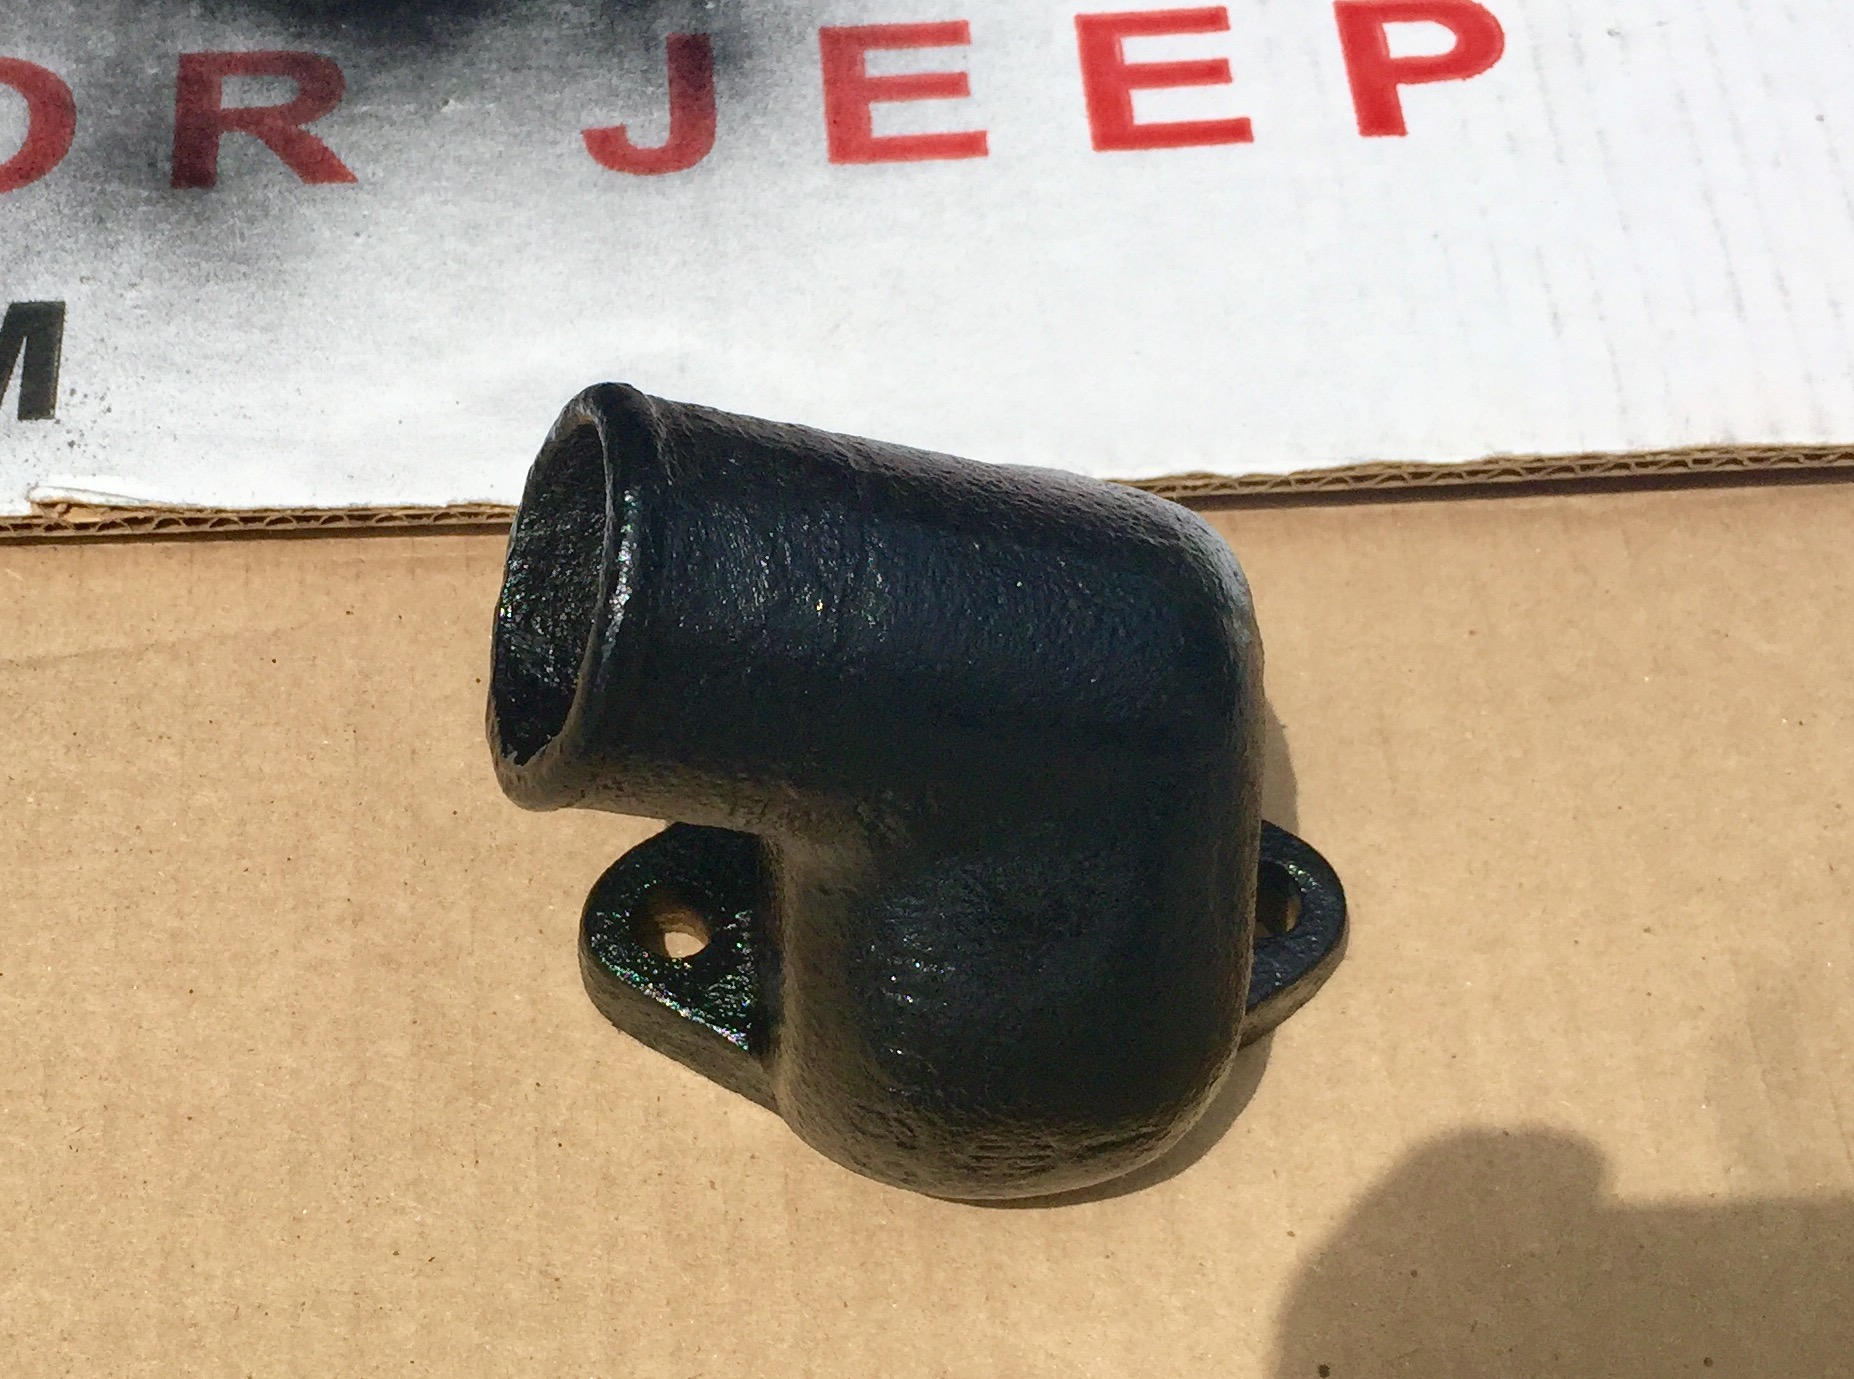
There is a small 90-degree metal tube (radiator outlet tube with pipe plug according to Parts Manual) that needed just a bit of cleaning. I gave it a quick coat of Rust Bullet afterwards.
While everything was off the front end of the truck I also cleaned and painted the fan, in place, and painted it Rust Bullet paint.
Cleaned and Painted Thermostat Housing
Finally, since the hood was off, I cleaned up the latch assemblies (the driver’s side has lost an important bushing and will eventually need to be replaced) and oiled them. I also cleaned underside of the hood. The hood mounting bolts were cleaned and painted with touch-up paint followed by a clear coat – they look much better.
Reassembly
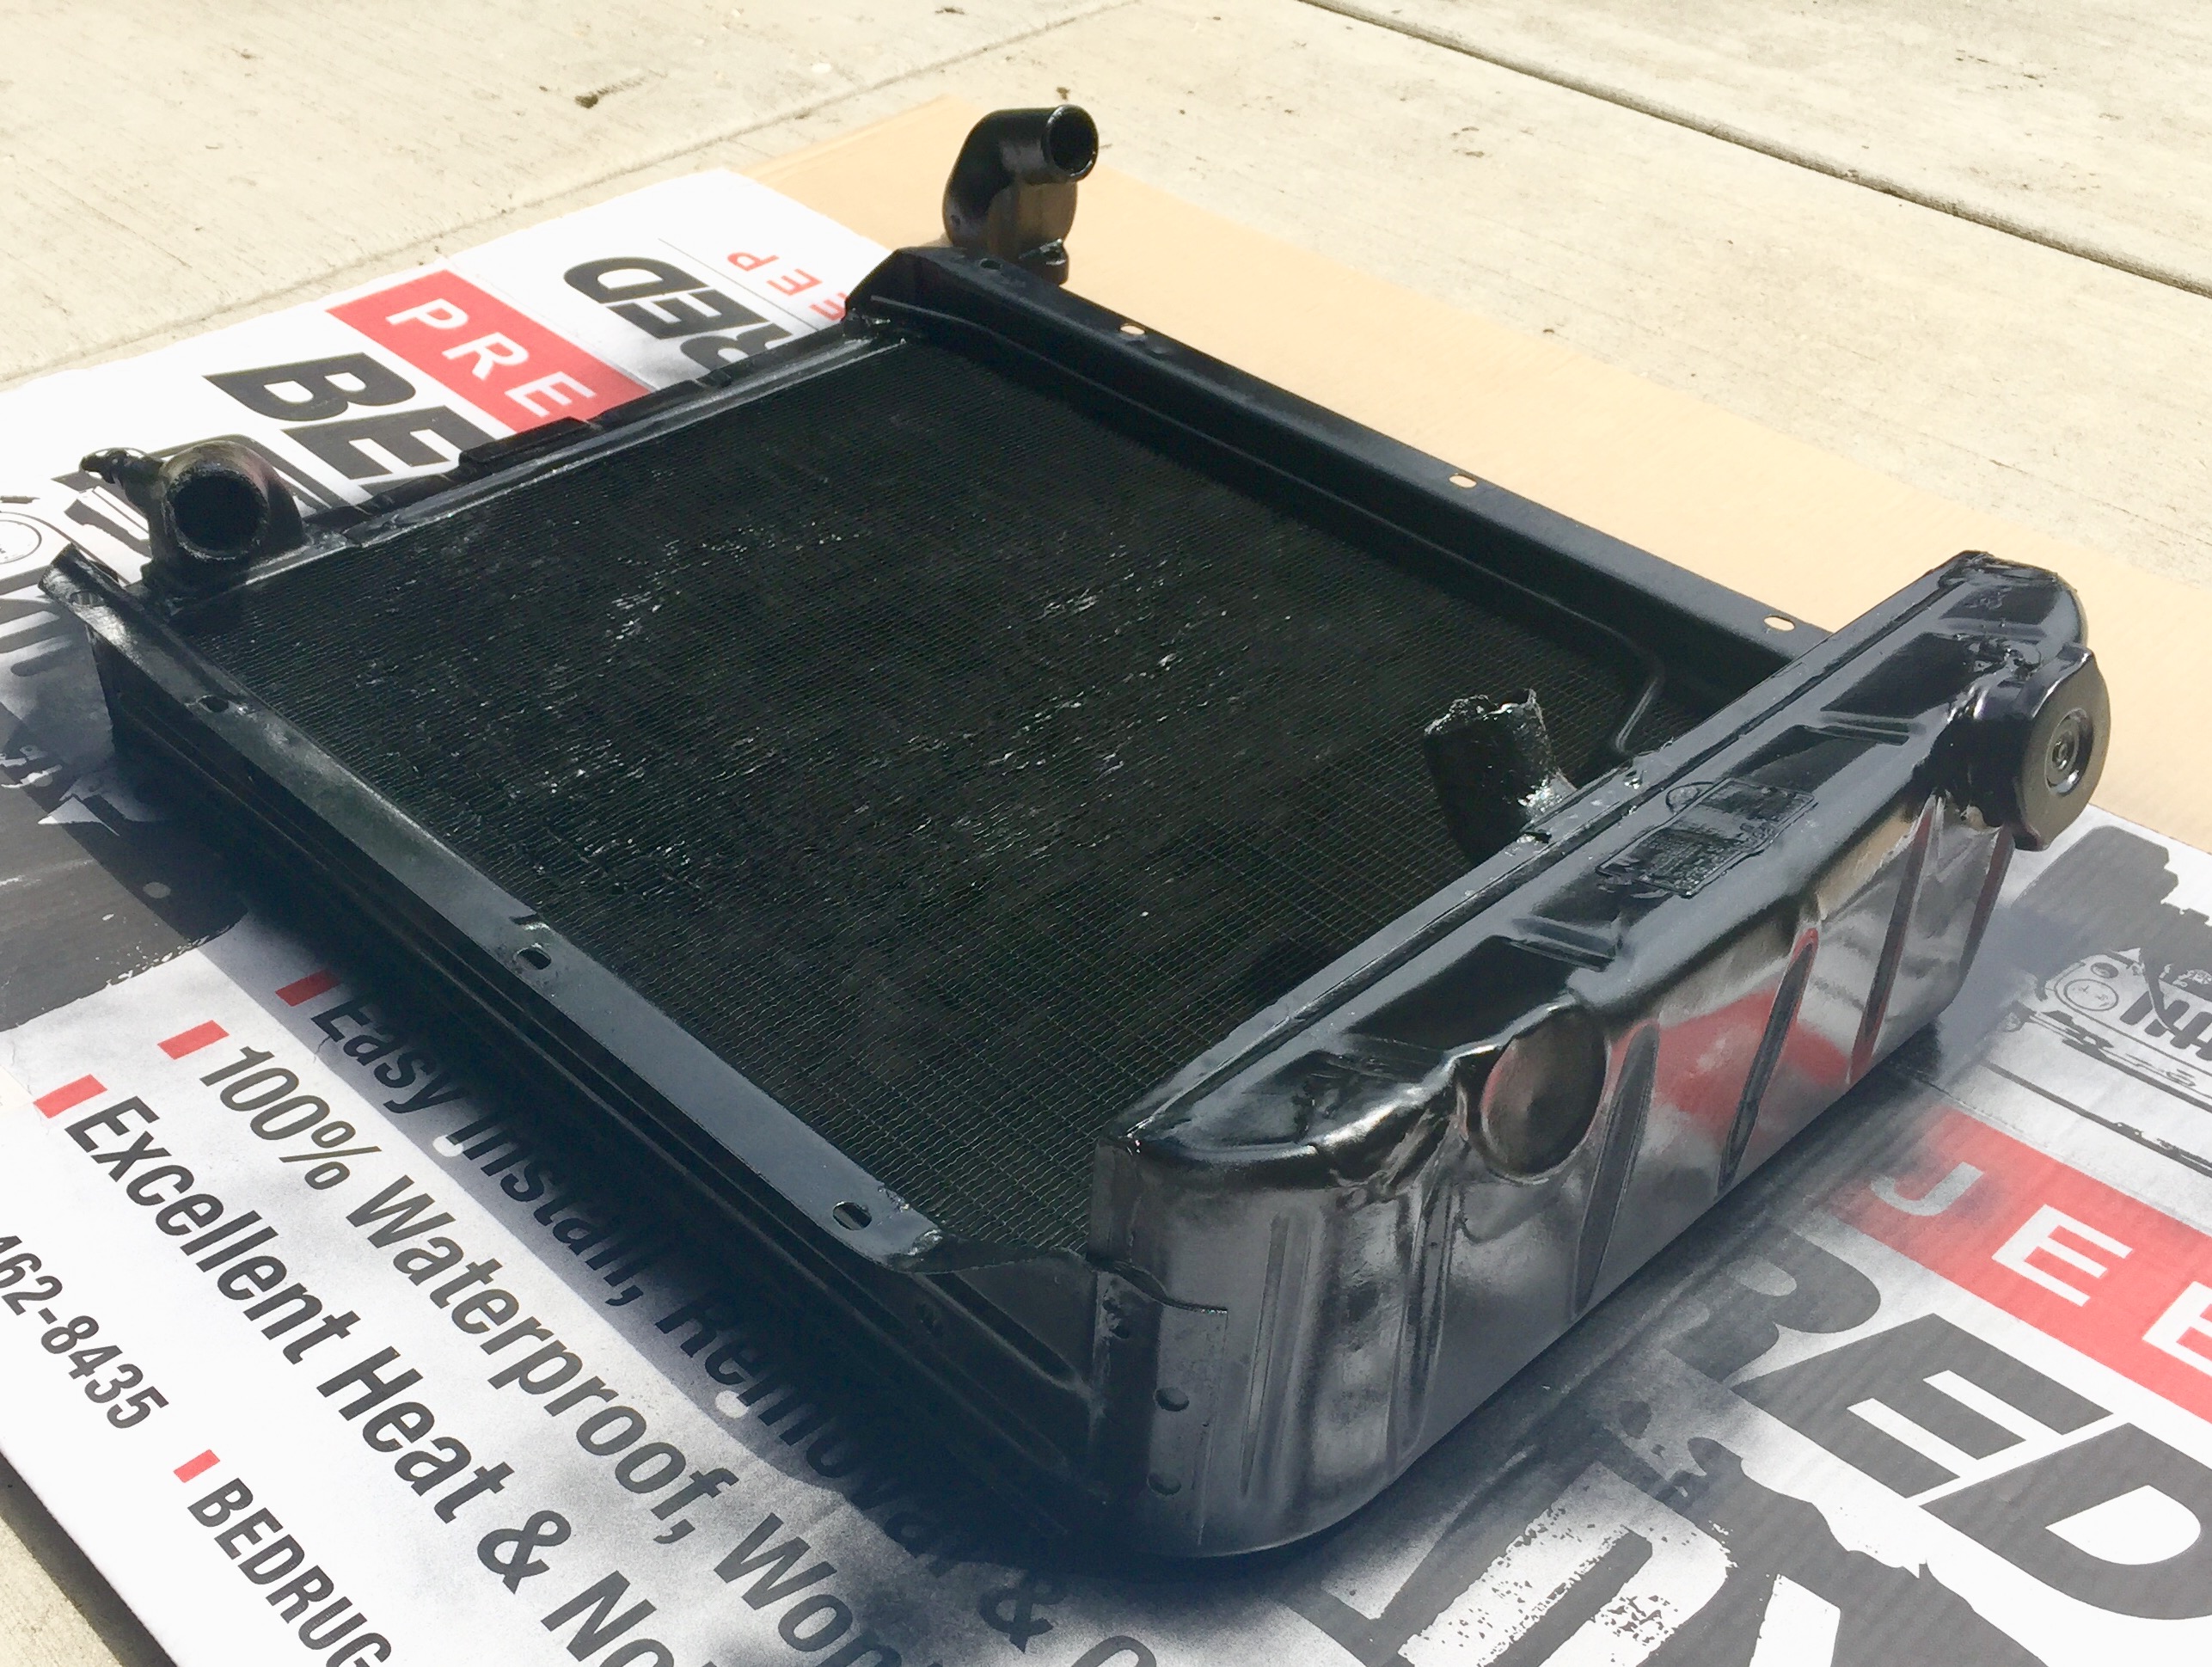
Freshly Painted Radiator
The radiator seemed to go back in MUCH faster than when it was removed. I replaced the 1/2″ slot-head bolts used to attach the grille to the radiator support with stainless slot-head bolts (and new washers and square nuts) found through Fastenal. I also replaced the larger attachment bolts with stainless as well. There are two large bolts with springs that mount the radiator to the support from beneath. I replaced the originals with stainless hardware, again procured through Fastenal. I could not find proper mounting pads, so I used large 2″-diameter rubber washers with a 1/8″ thickness.
Apparently there is a metal ring that holds the thermostat in place within the housing so it doesn’t fall out and become off-center during installation. I simply made a “ring” with some heavy duty wire shaped into a circle. Works fine. I then used Permatex Water Pump Housing Gasket Sealant and spread a thin film on both sides of the thermostat housing gasket prior to installation. With stainless replacement thermostat housing installation bolts, everything installed cleanly. I could not find torque values for the bolts, so snugged them up fairly tight and evenly.
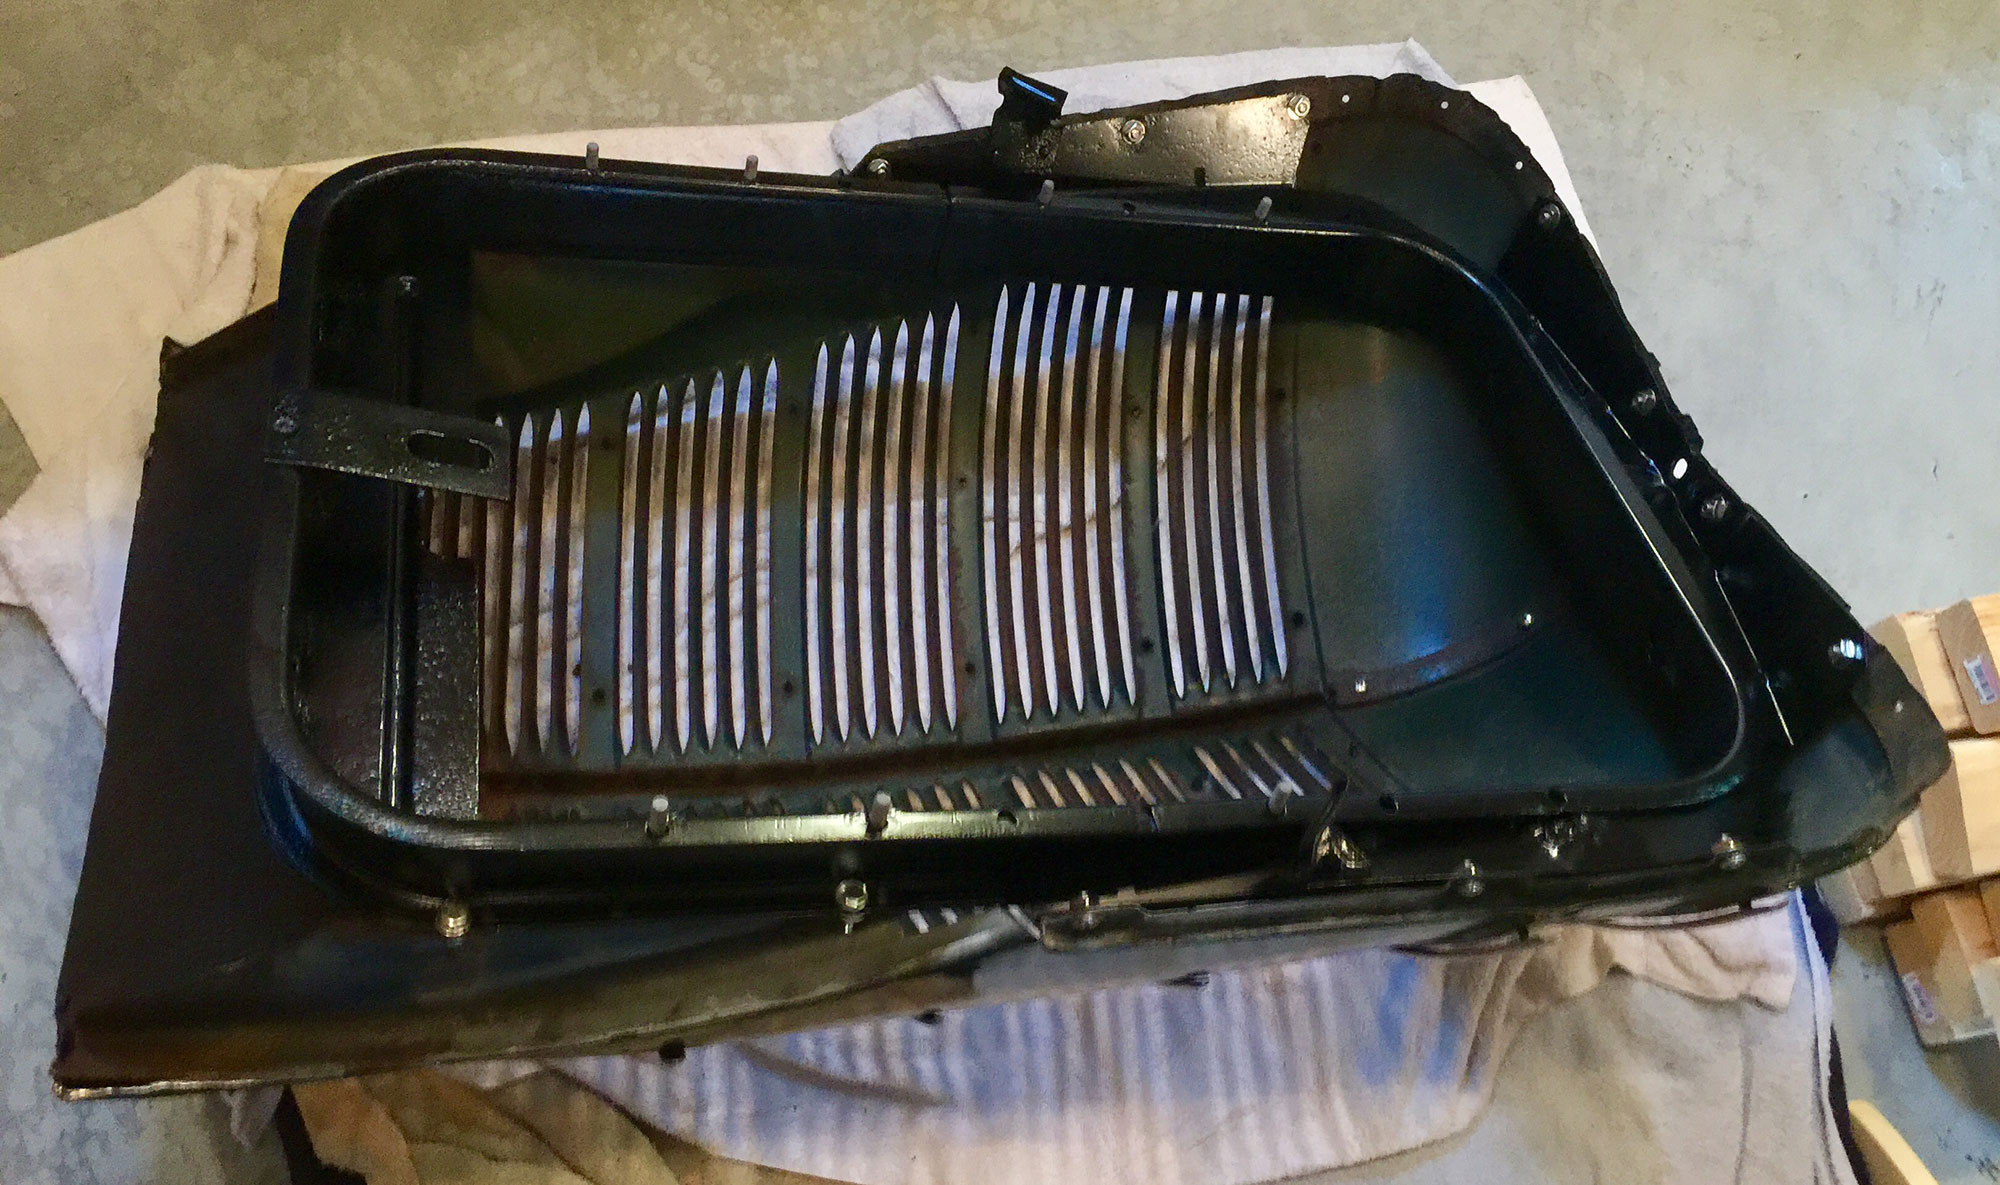
Radiator Support Installed in Grille
The new radiator hoses (the hose was purchased in a 2-foot length and then cut to size), being 1/16″ smaller on the ID than what is specified, were a very tight fit, but everything went on with a little more effort. In fact, I am happy that the hoses were such a tight fit as it reduces the opportunity for leakage down the road.
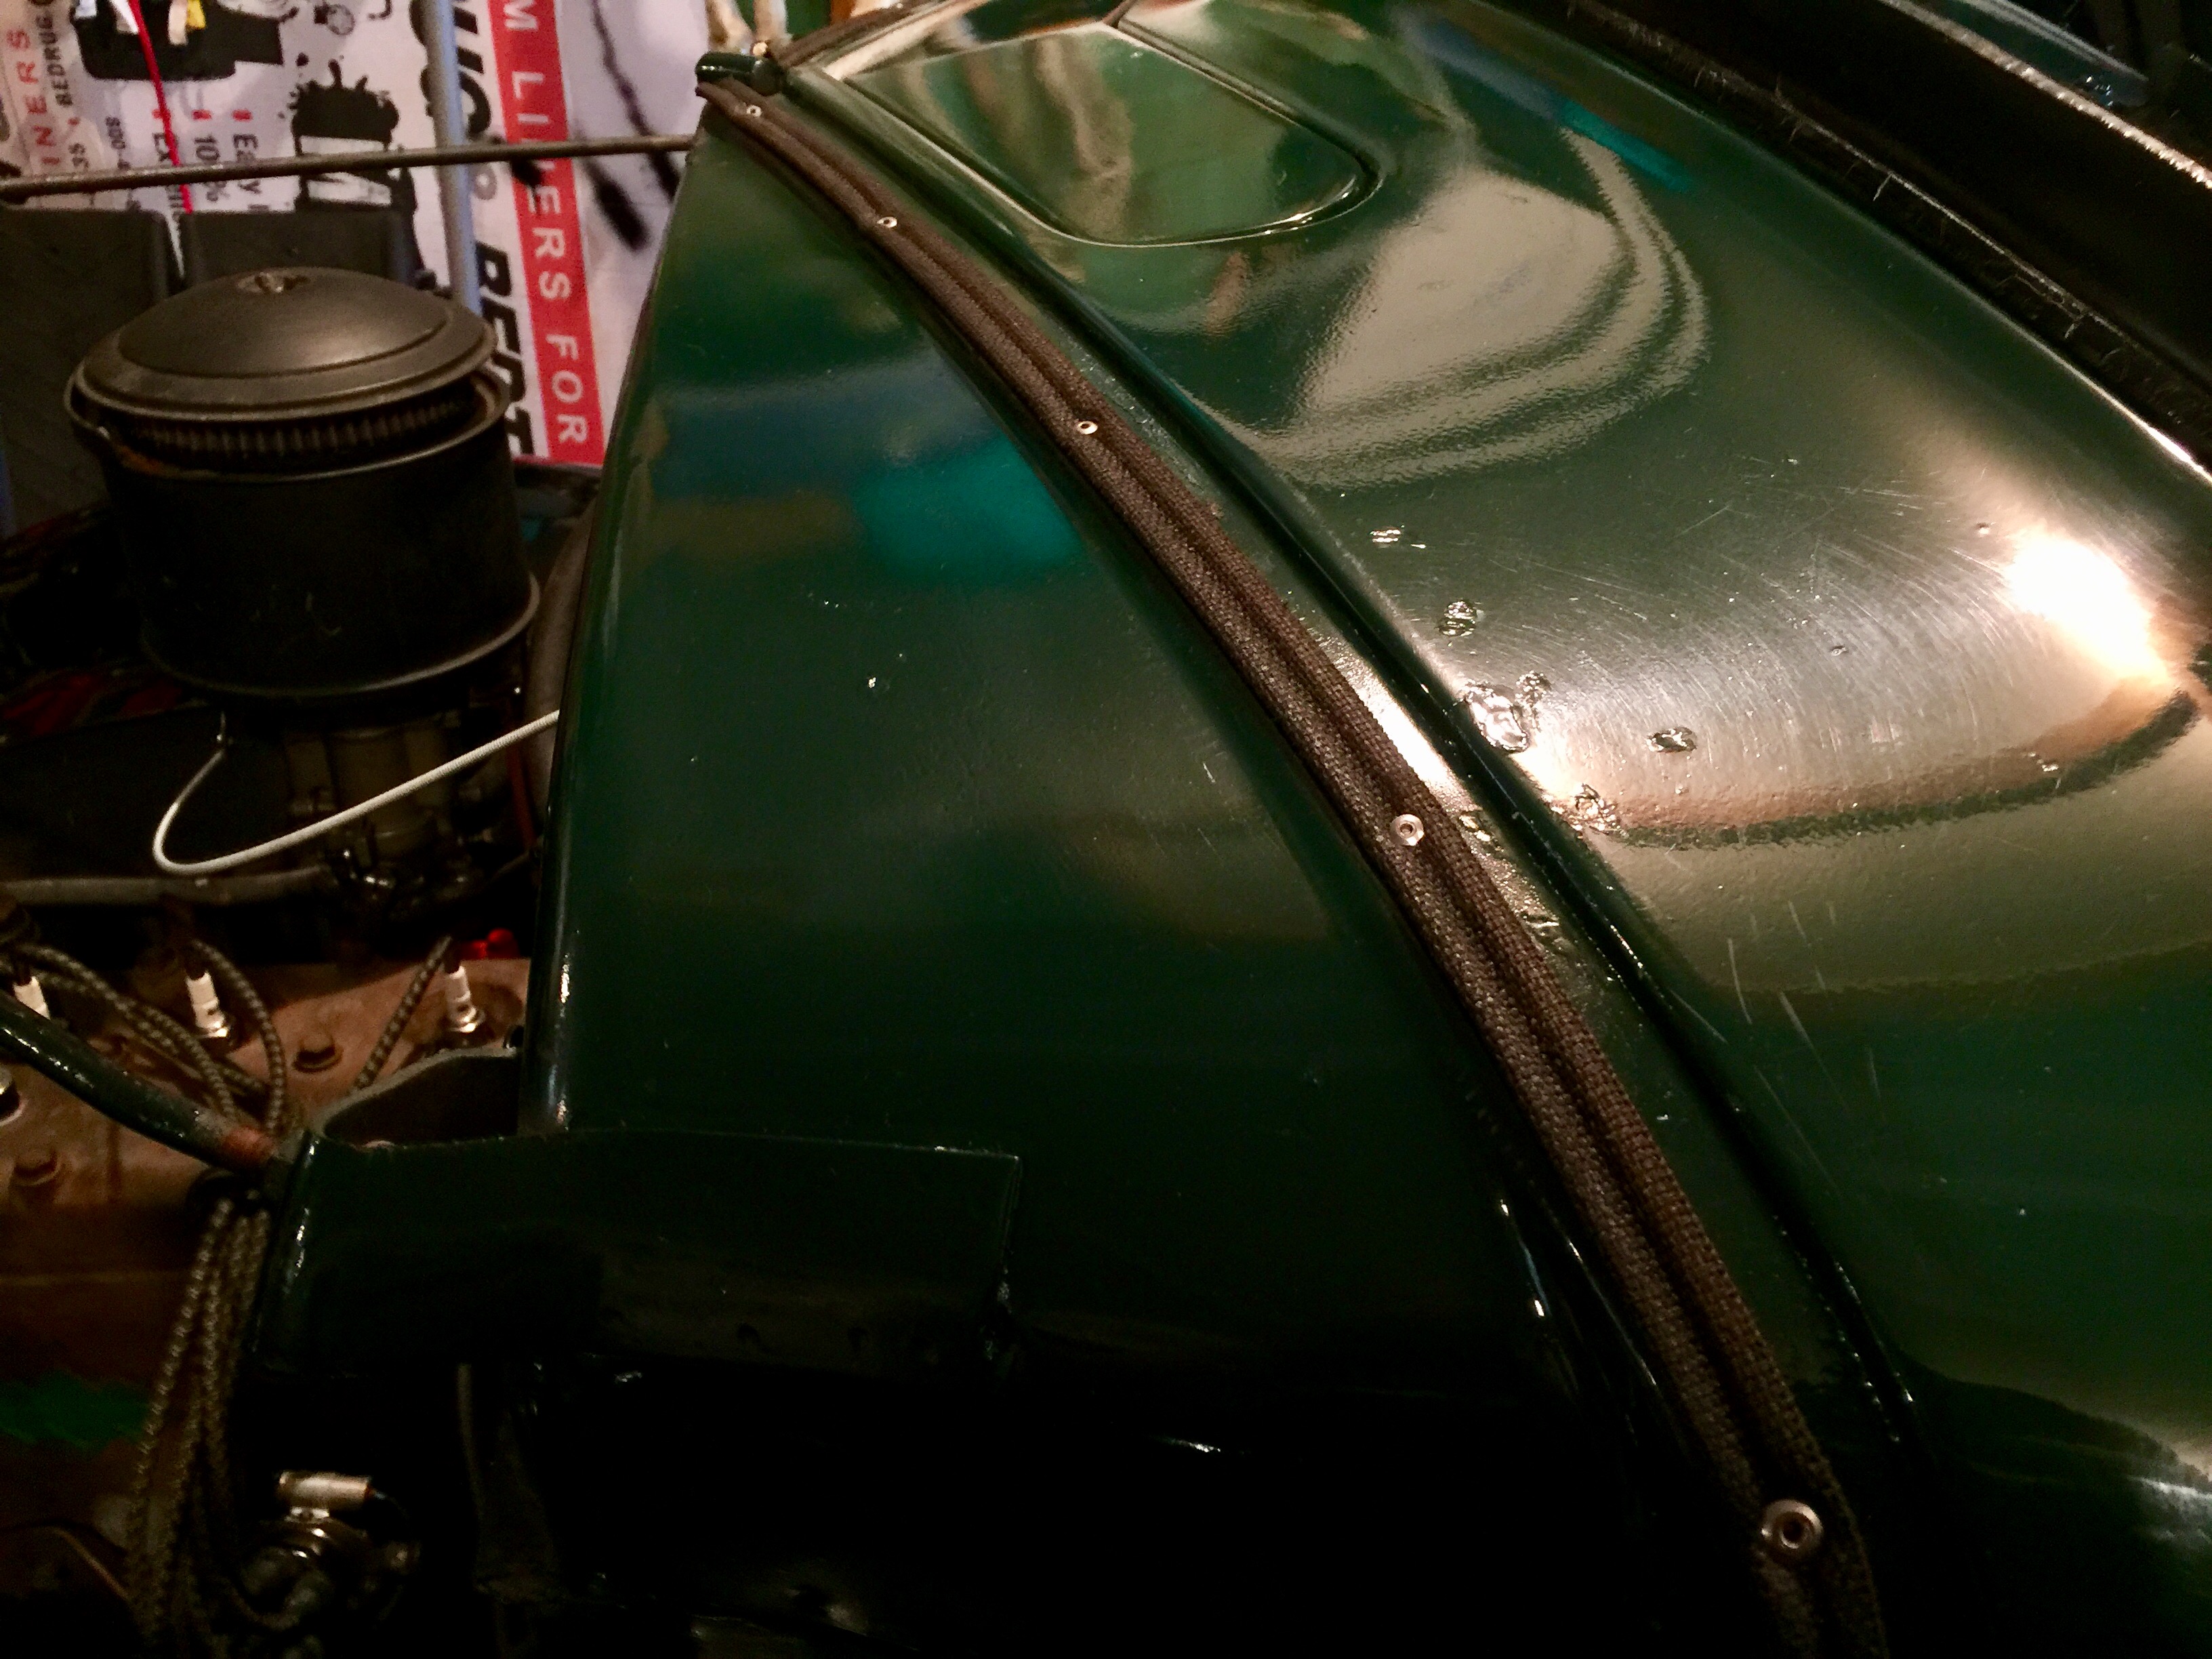
New Cowl Lace Installed
The last item to be installed was new hood and cowl lacing. The original lacing was in rough shape, and with the hood off, it was easy to tackle at this stage. The hood lace is 3/4″ wide by 3/16″ cloth lacing purchased through Restoration Supply. The original lacing is held on with split rivets, but I decided to save time and use stainless pop rivets instead. The lacing turned out nice and is held tight.

Completed Radiator Assembly
15 quarts of coolant were added along with a zero-psi radiator cap to top things off. I ran the truck to bleed the system a bit, then topped off.
Finally, there is a metal overflow tube running along the driver’s side of the radiator. I added a bit of plastic tubing to this so that it extends below the frame of the truck in front. Now there is no more coolant dribbling into the engine bay.
“Cornelius”
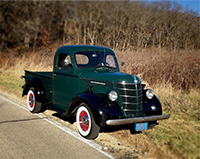
Cornelius Specifications:
- Make: IHC
- Model: D-2
- Type: Pickup
- Capacity: 1/2 Ton
- Wheelbase: 113"
- Year Built: 1939
- Engine: HD 213